Customizing Normals Series
/Update: Project files for some parts are available on Gumroad here ($0+)
Update 2: This new post gives an overview of the problems and solutions. Mostly the same info as the first video, but text form. Read it first.
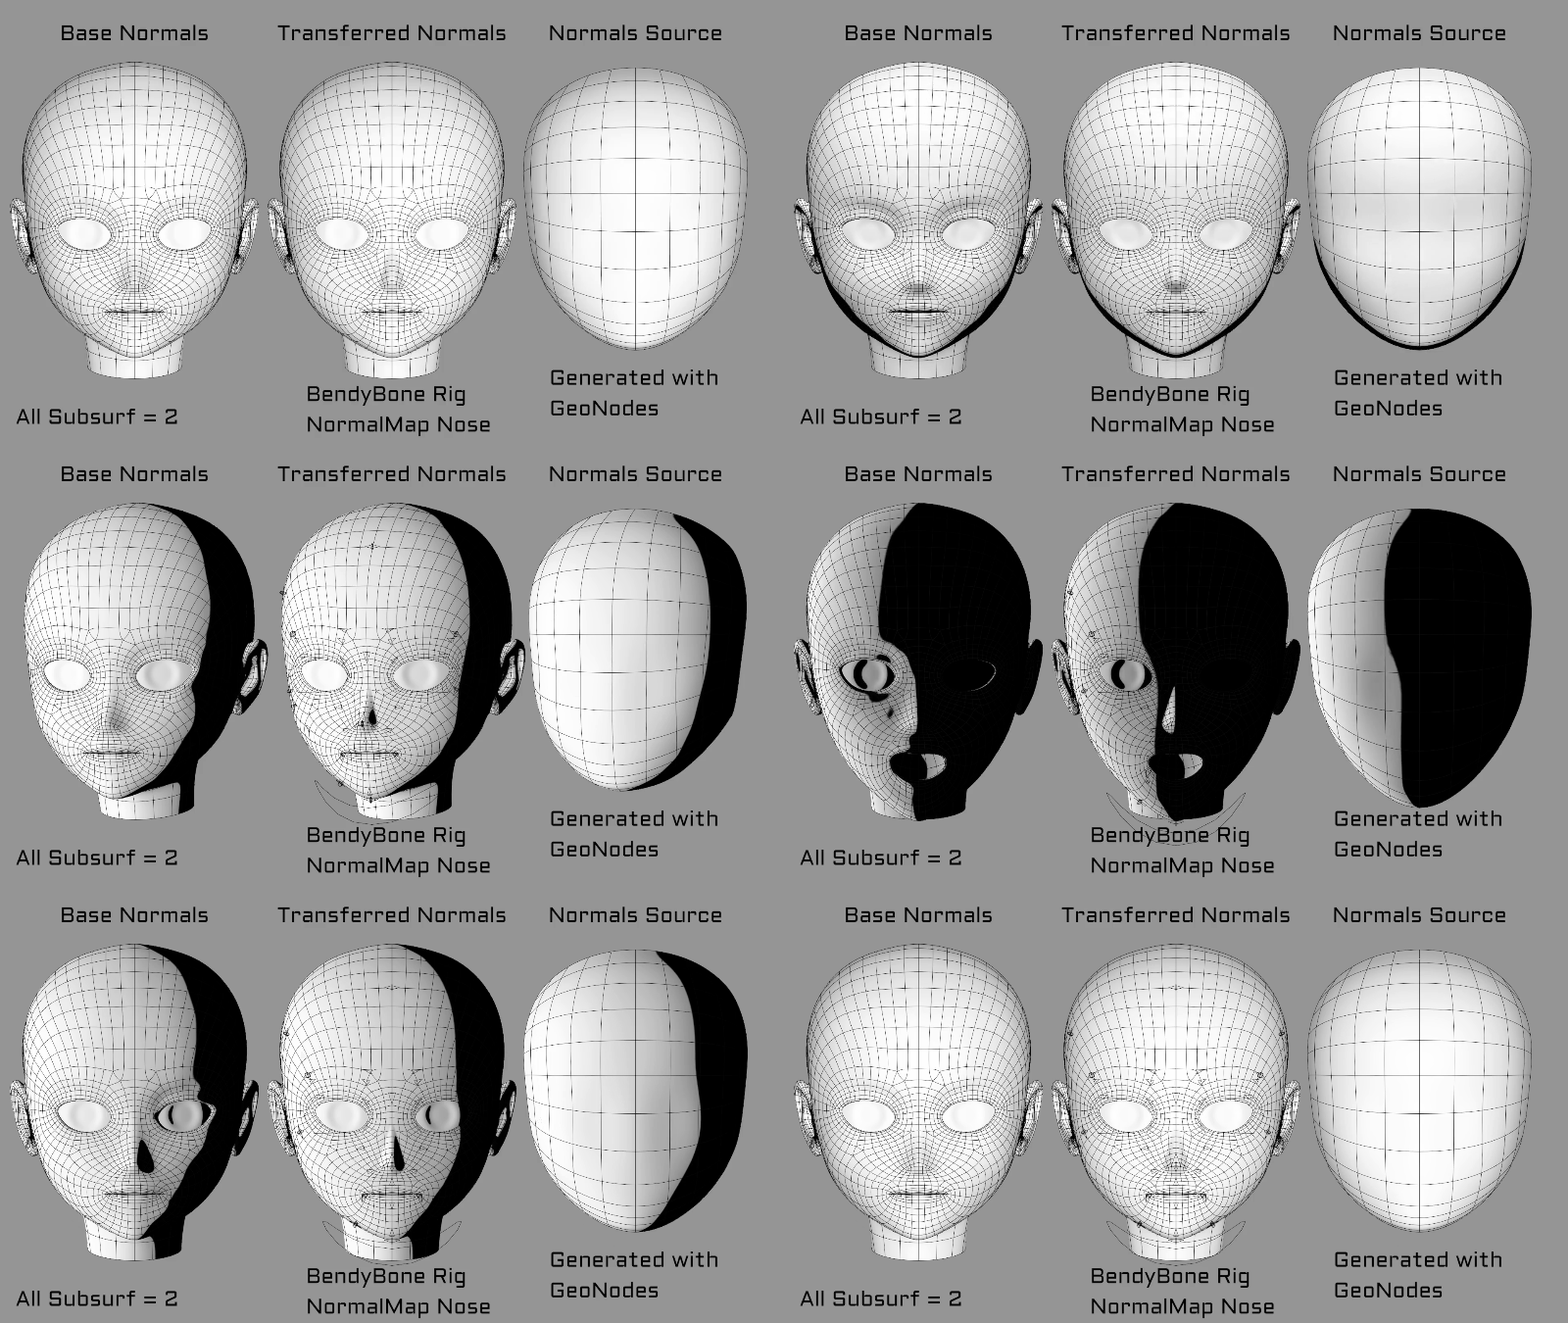
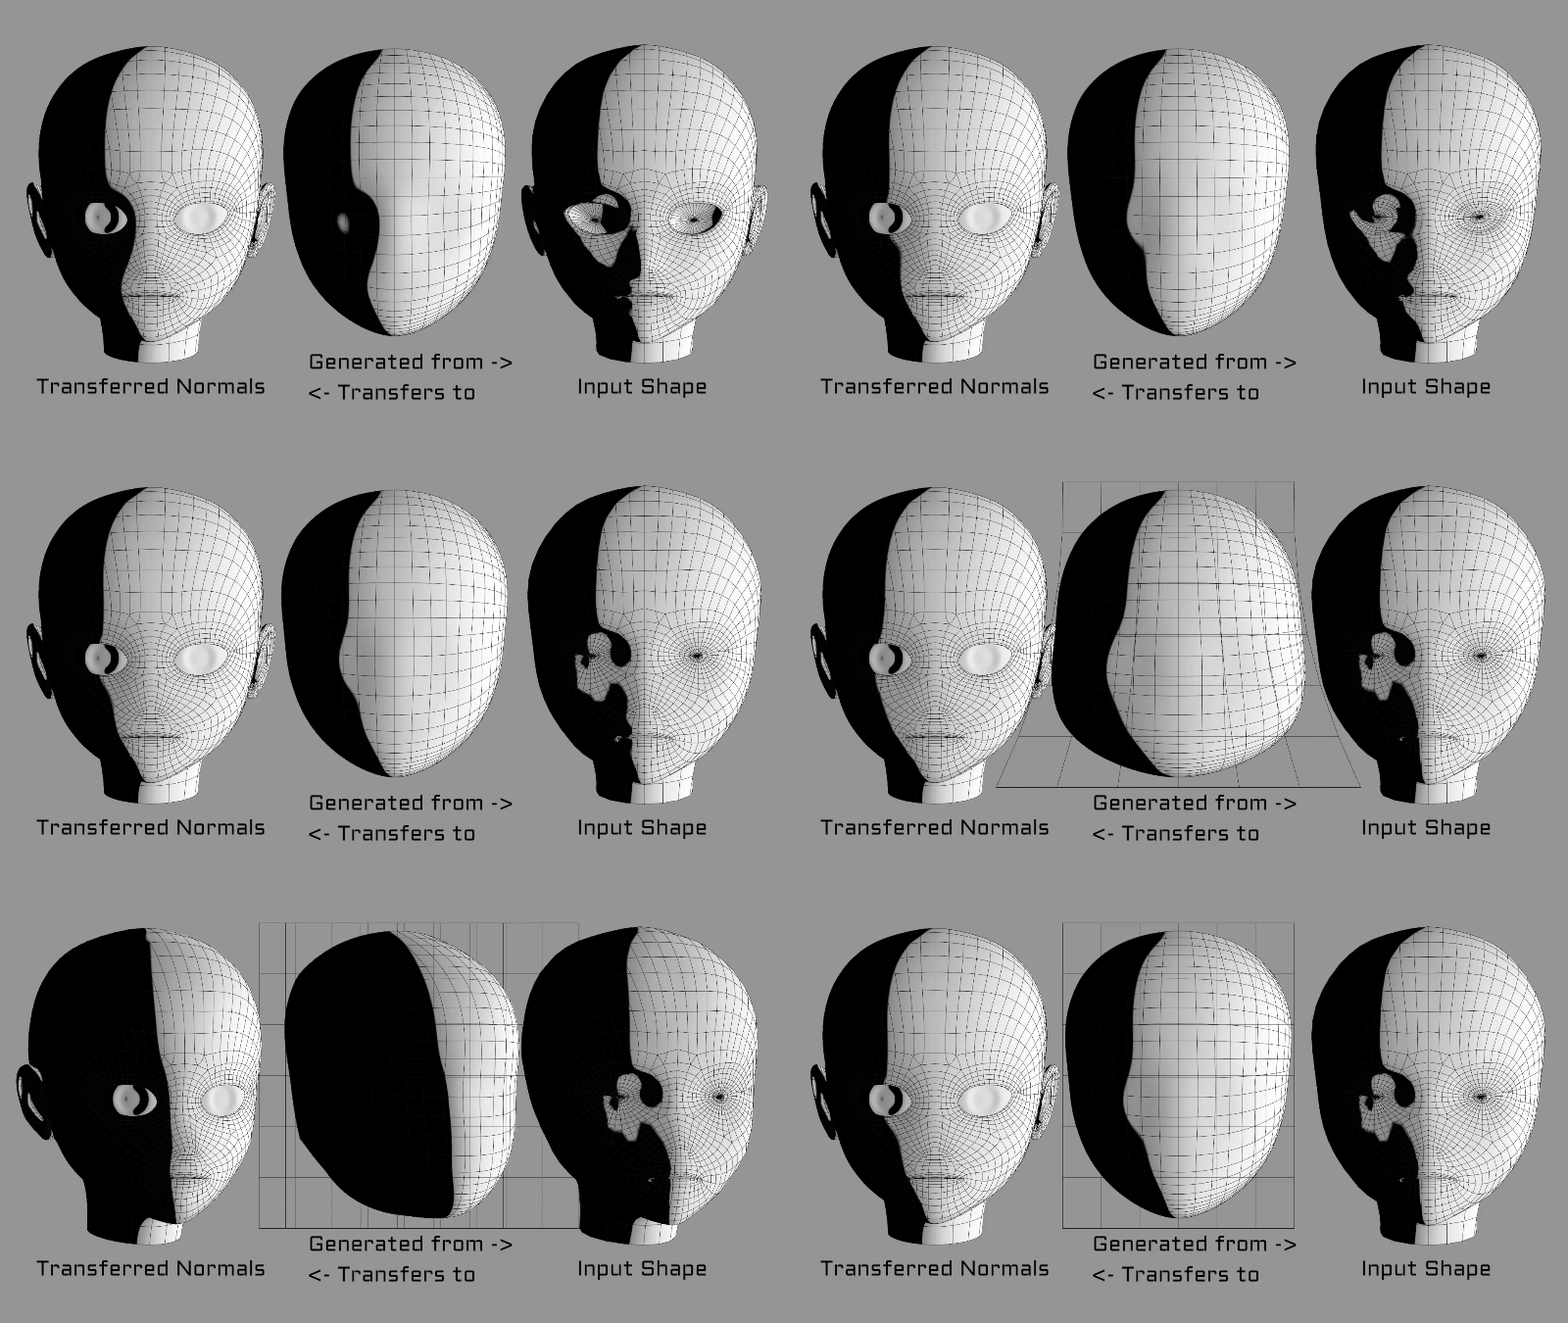
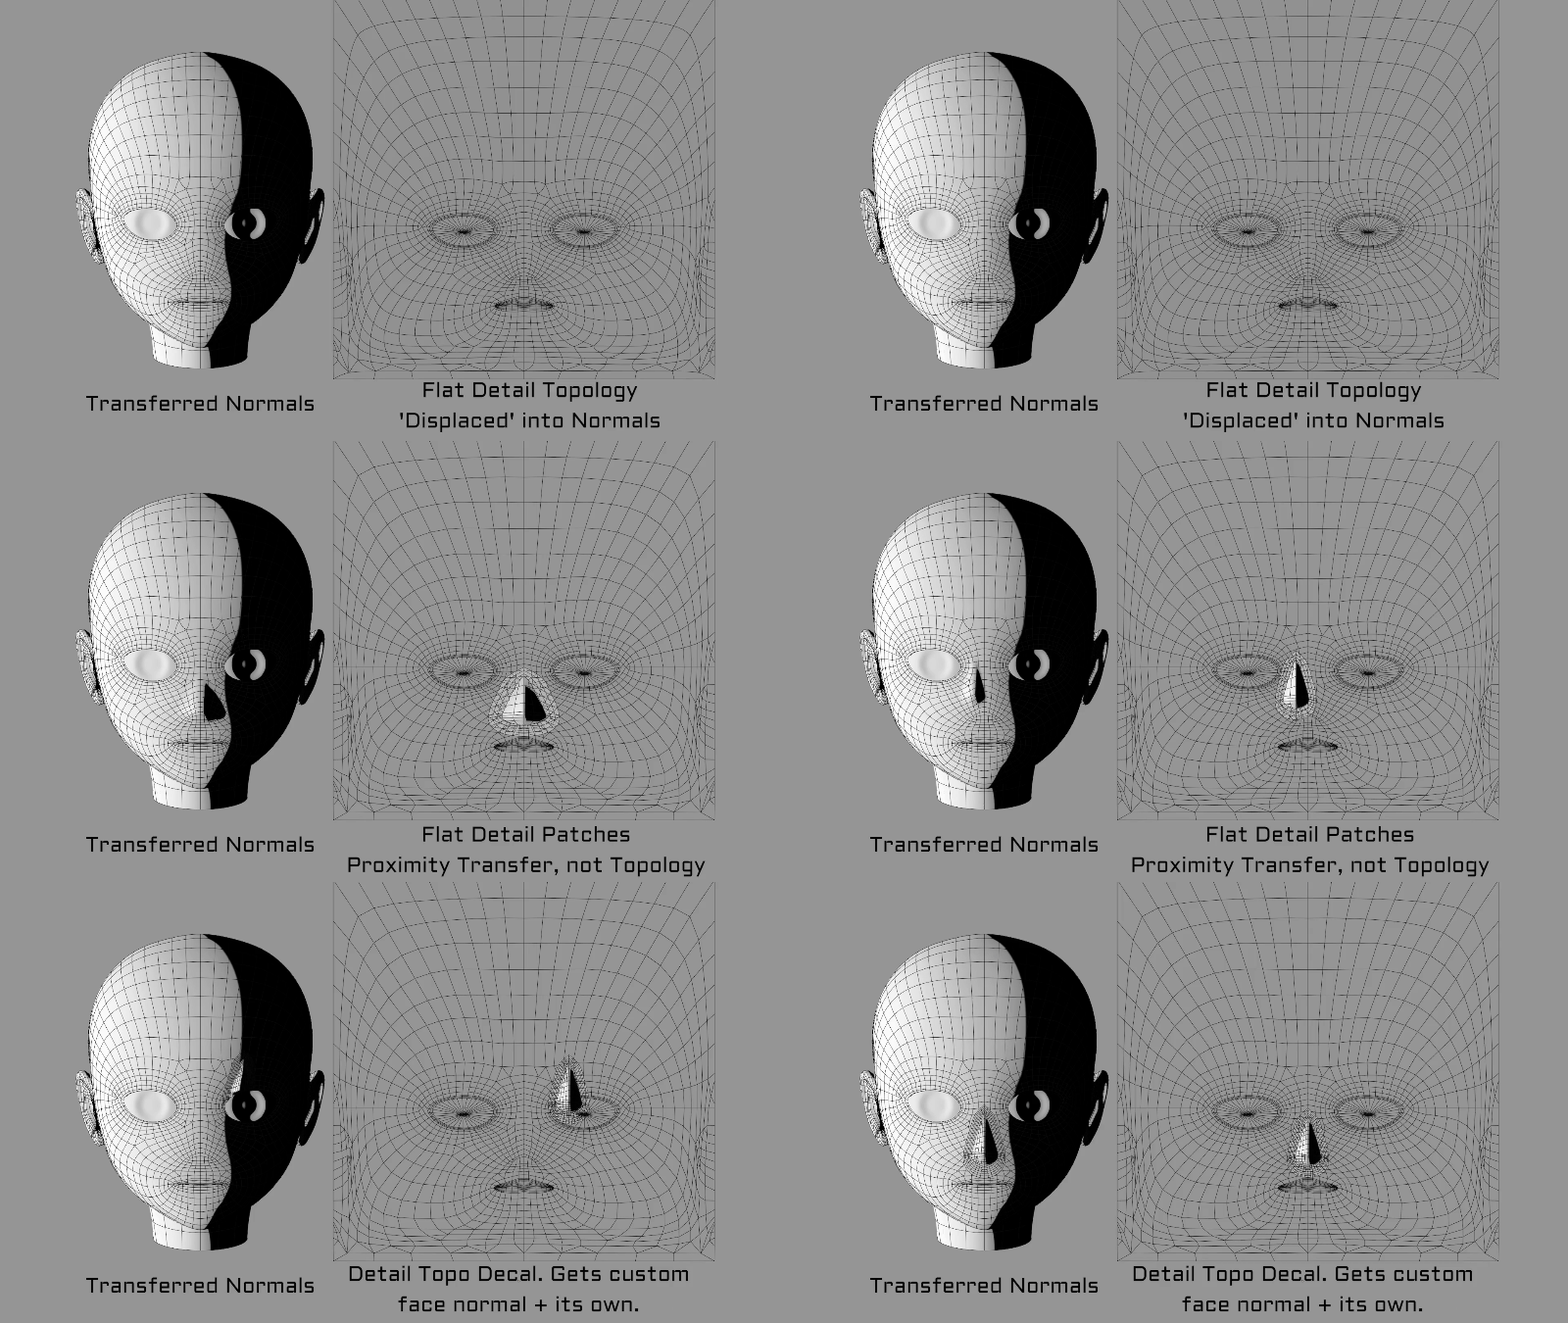
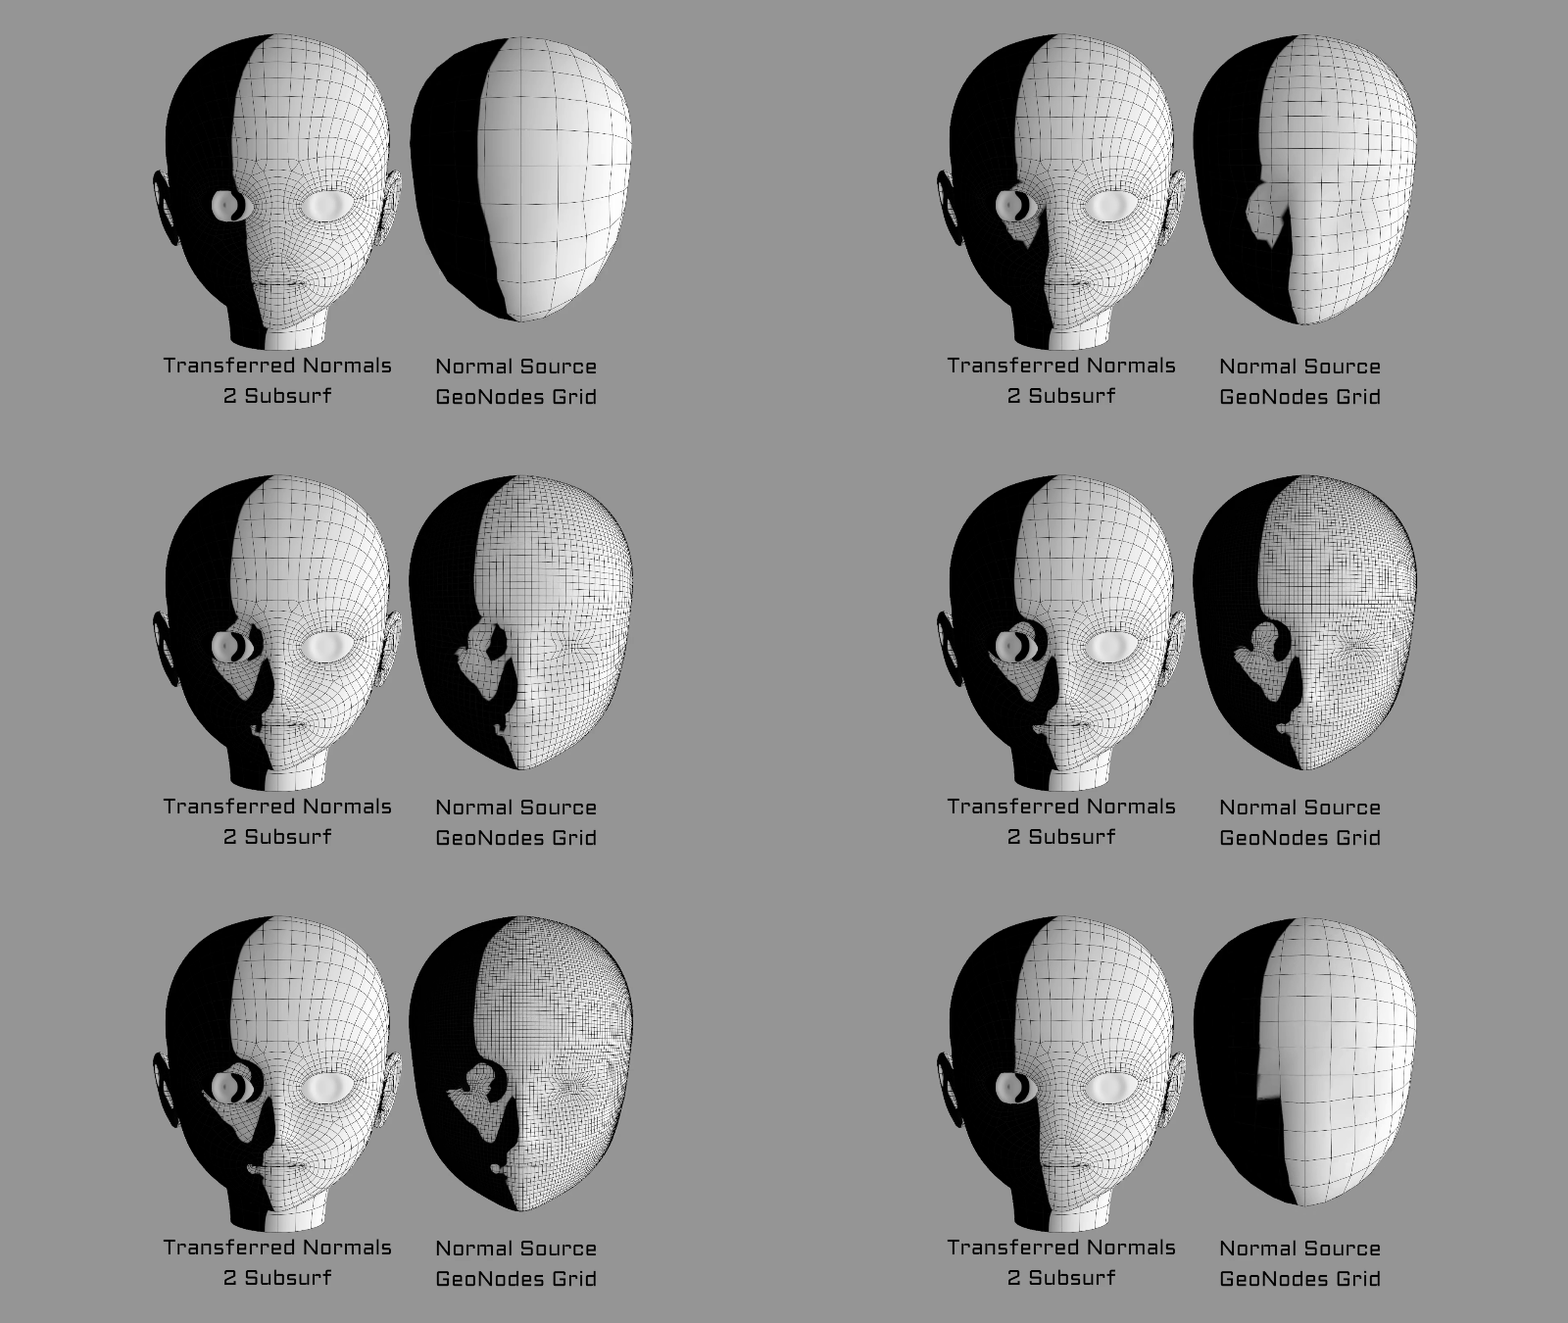
Its time for a new series on Customizing Normals in Blender 3.1. I'll be showing a variety of methods to fix dirty shading and also stylize it however you want by controlling the shading shapes. We'll be learning a Normal transfer based workflow that uses Geometry Nodes and also Shader Nodes. We'll model the shapes we want separately, then steal their Normals and put them onto our main mesh.
My first attempt to clean up toon shading worked, but lacked good options for adding details or controlling shapes due to limits of Eevee/Cycles nodes. So I dug into how those nodes worked and created custom versions that didn’t have these limitations. But this did not solve the artistic challenge of creating the right shapes for stylized shading in the first place. To solve that, I ended up using Geometry Nodes to transfer and edit vertex Normals on a mesh level before bringing them into the Shader.
I’ve spent a long time experimenting and tinkering. This will be a video series about it all. We'll be learning a Normal Transfer based workflow where we model the shapes we want, transfer them to our main mesh and combine them together, then bake them to textures. We'll start with simple options using the Data Transfer Modifier, then get into Geometry and Shader Nodes.
Huge Twitter thread of experiments:
I’ll add entries for each video to this post as I create them.
1: Series Overview + The Problems
This first video previews a wide variety of tools and setups we'll be learning about, and goes into detail on what exactly the problems are, why we have them, and how they can be solved.
2: Basic Normal Transfer Options and Issues
An introduction to basic Normal Transfer setups using the Data Transfer modifier. We get to know how it works and what it can and can’t do, and we also pick up a lot of general information about how meshes and Normals work. Later we’ll build off this foundation to create more powerful Data Transfer and Geometry Node setups.
3: Advanced Normal Transfer Setups and Limitations
In the previous video we identified several problems. Now we'll see how to solve many of them by using multiple Data Transfers and multiple Source and Destination meshes. We'll also learn more about options for adding details.
4: Getting Normals from Geometry Nodes
GeoNodes don't currently support the Custom Normals we are used to. We can use the Attribute system to get Normals from our mesh and pipe them into our Material, but we need the correct setup or they won't work right. And if we want things like Sharp or angle based edge splitting, we need to create them ourselves.
5: Transferring Normals in Geometry Nodes
Transferring is common and easy in GeoNodes, but there are many details specific to Normals to keep track of. We'll create the GeoNodes equivalent of Nearest Face Interpolated and Projected from the Data Transfer Modifier, as well as several other features.
6: Fixing Transfer Distortion with Position Transfer
To get clean transfers, we need to close up gaps between or align our meshes. In this video, we apply what we've been learning about transferring data with Geometry Nodes to transfer Position of one mesh to another. This is similar to earlier videos where we solved the 'Air Gap' issue with Shrinkwrap.
7: Building the Normals Canvas with Position Transfer
If we want a good user experience while building up our Normals, then we need a good workspace. We've spent a lot of time learning how to manipulate our meshes into the right positions for transfers, and now we want to stick all that stuff in some handy node groups and never have to think about it again!
8: Combining Normals with Surface Gradients
So far in this series we've explored how to work with Normals in Geometry Nodes, and how to transfer them between meshes. Now we will get into our options to stack, layer, or otherwise combine multiple Normals together into a new shape. In this video we'll mostly talk about Surface Gradients as a prelude to Tangent Normal Mapping, which will come next.
9: How Tangent Normal Mapping works
Normal mapping is one of the most powerful tools we have for achieving high quality custom normals. But it is difficult to use because it requires complete understanding to get it to do what we want. And it is hard to find a good explanation in terms artists will understand. So I shall attempt to make the explanation I wish I'd had when I was learning it!


