Projected Texture Eyes Tutorial Series
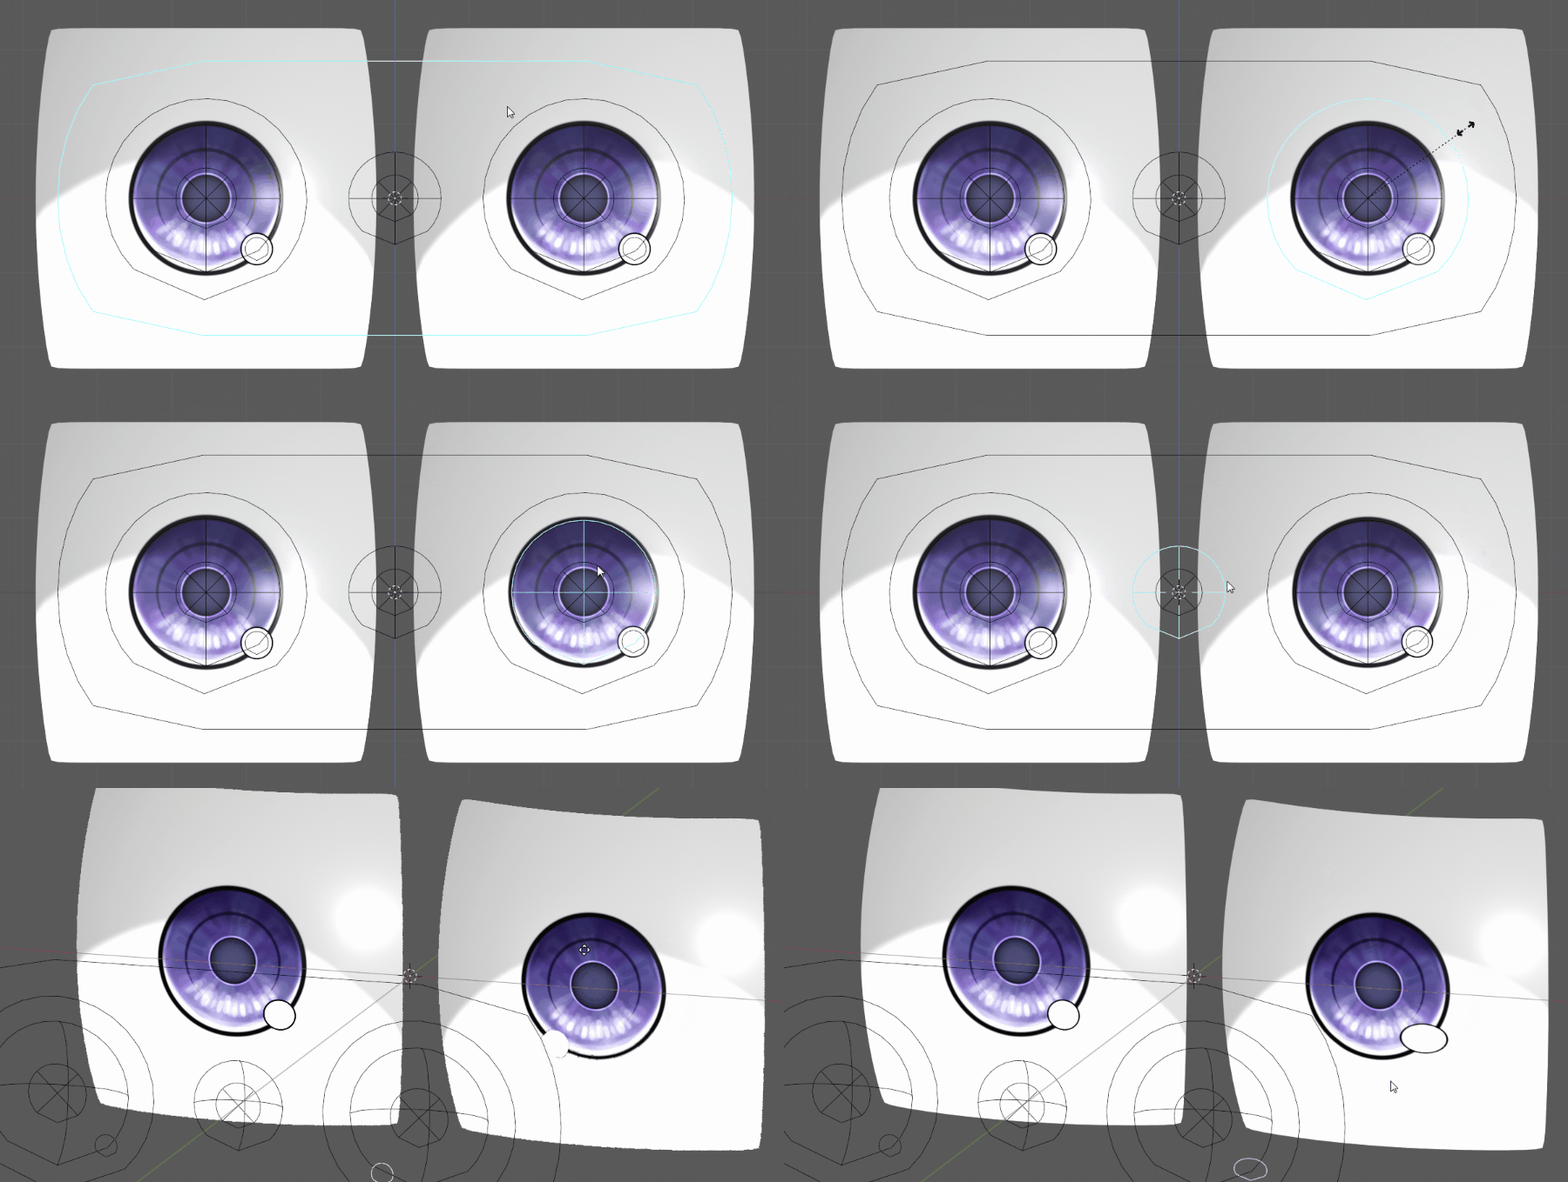
/The texture moves, including the displace, but the geometry doesn’t!
Update: The series is now complete. A new version of the file is also available (requires Blender 2.92.)
I’m making a tutorial series covering the theory and setup of Projected Texture eyes. Here’s the Playlist on YouTube.
This is a method where you move the texture across the geometry instead of moving the geometry itself. This lets you avoid common issues that come up with large toon/anime eyes. You also avoid shapekeys, making the setup easy to re-use. It works with procedural or image textures, and in both Eevee and Cycles.
I’ll be releasing the videos periodically over the next few weeks. Part 1 and 2 are already up.
Transform different elements either together or separately.
The series will be covering lots of stuff, including:
Eyes tracking the camera, but not going too far due to Rotation Limits.
The difference between UV and Object Texture Coordinates.
Using Images with Object Coordinates.
Creating shapes and masks from procedural gradients.
Object based displacement, and how to avoid jagged edges.
How to “draw” simple shapes with RGB Curves.
Making radial procedural textures.
Rigging, including tracking a target, transform controls, base position controls, and limiting constraints.
Other methods of moving textures using Drivers.
If you want to support me making more videos, the full file is already available to my tier 2 Patrons through the end of March 2021, or on Gumroad for a couple dollars more. Or you can follow the videos and build it yourself!


