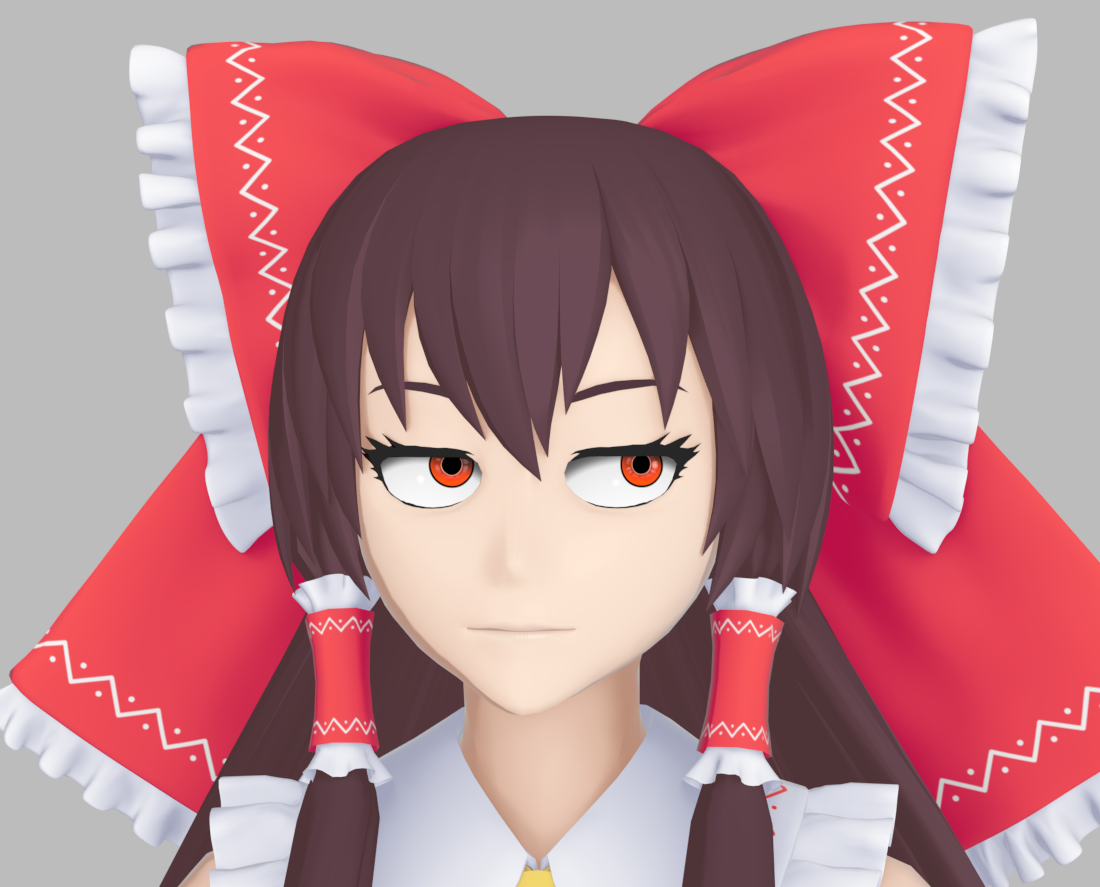
Reimu Hakurei Workflow Test
/I have just launched on Patreon. If you find this content helpful, please consider supporting me!
There is also a version of this post on BlenderArtists.
Click for 4k size. Also on ArtStation, DeviantArt, and Pixiv.
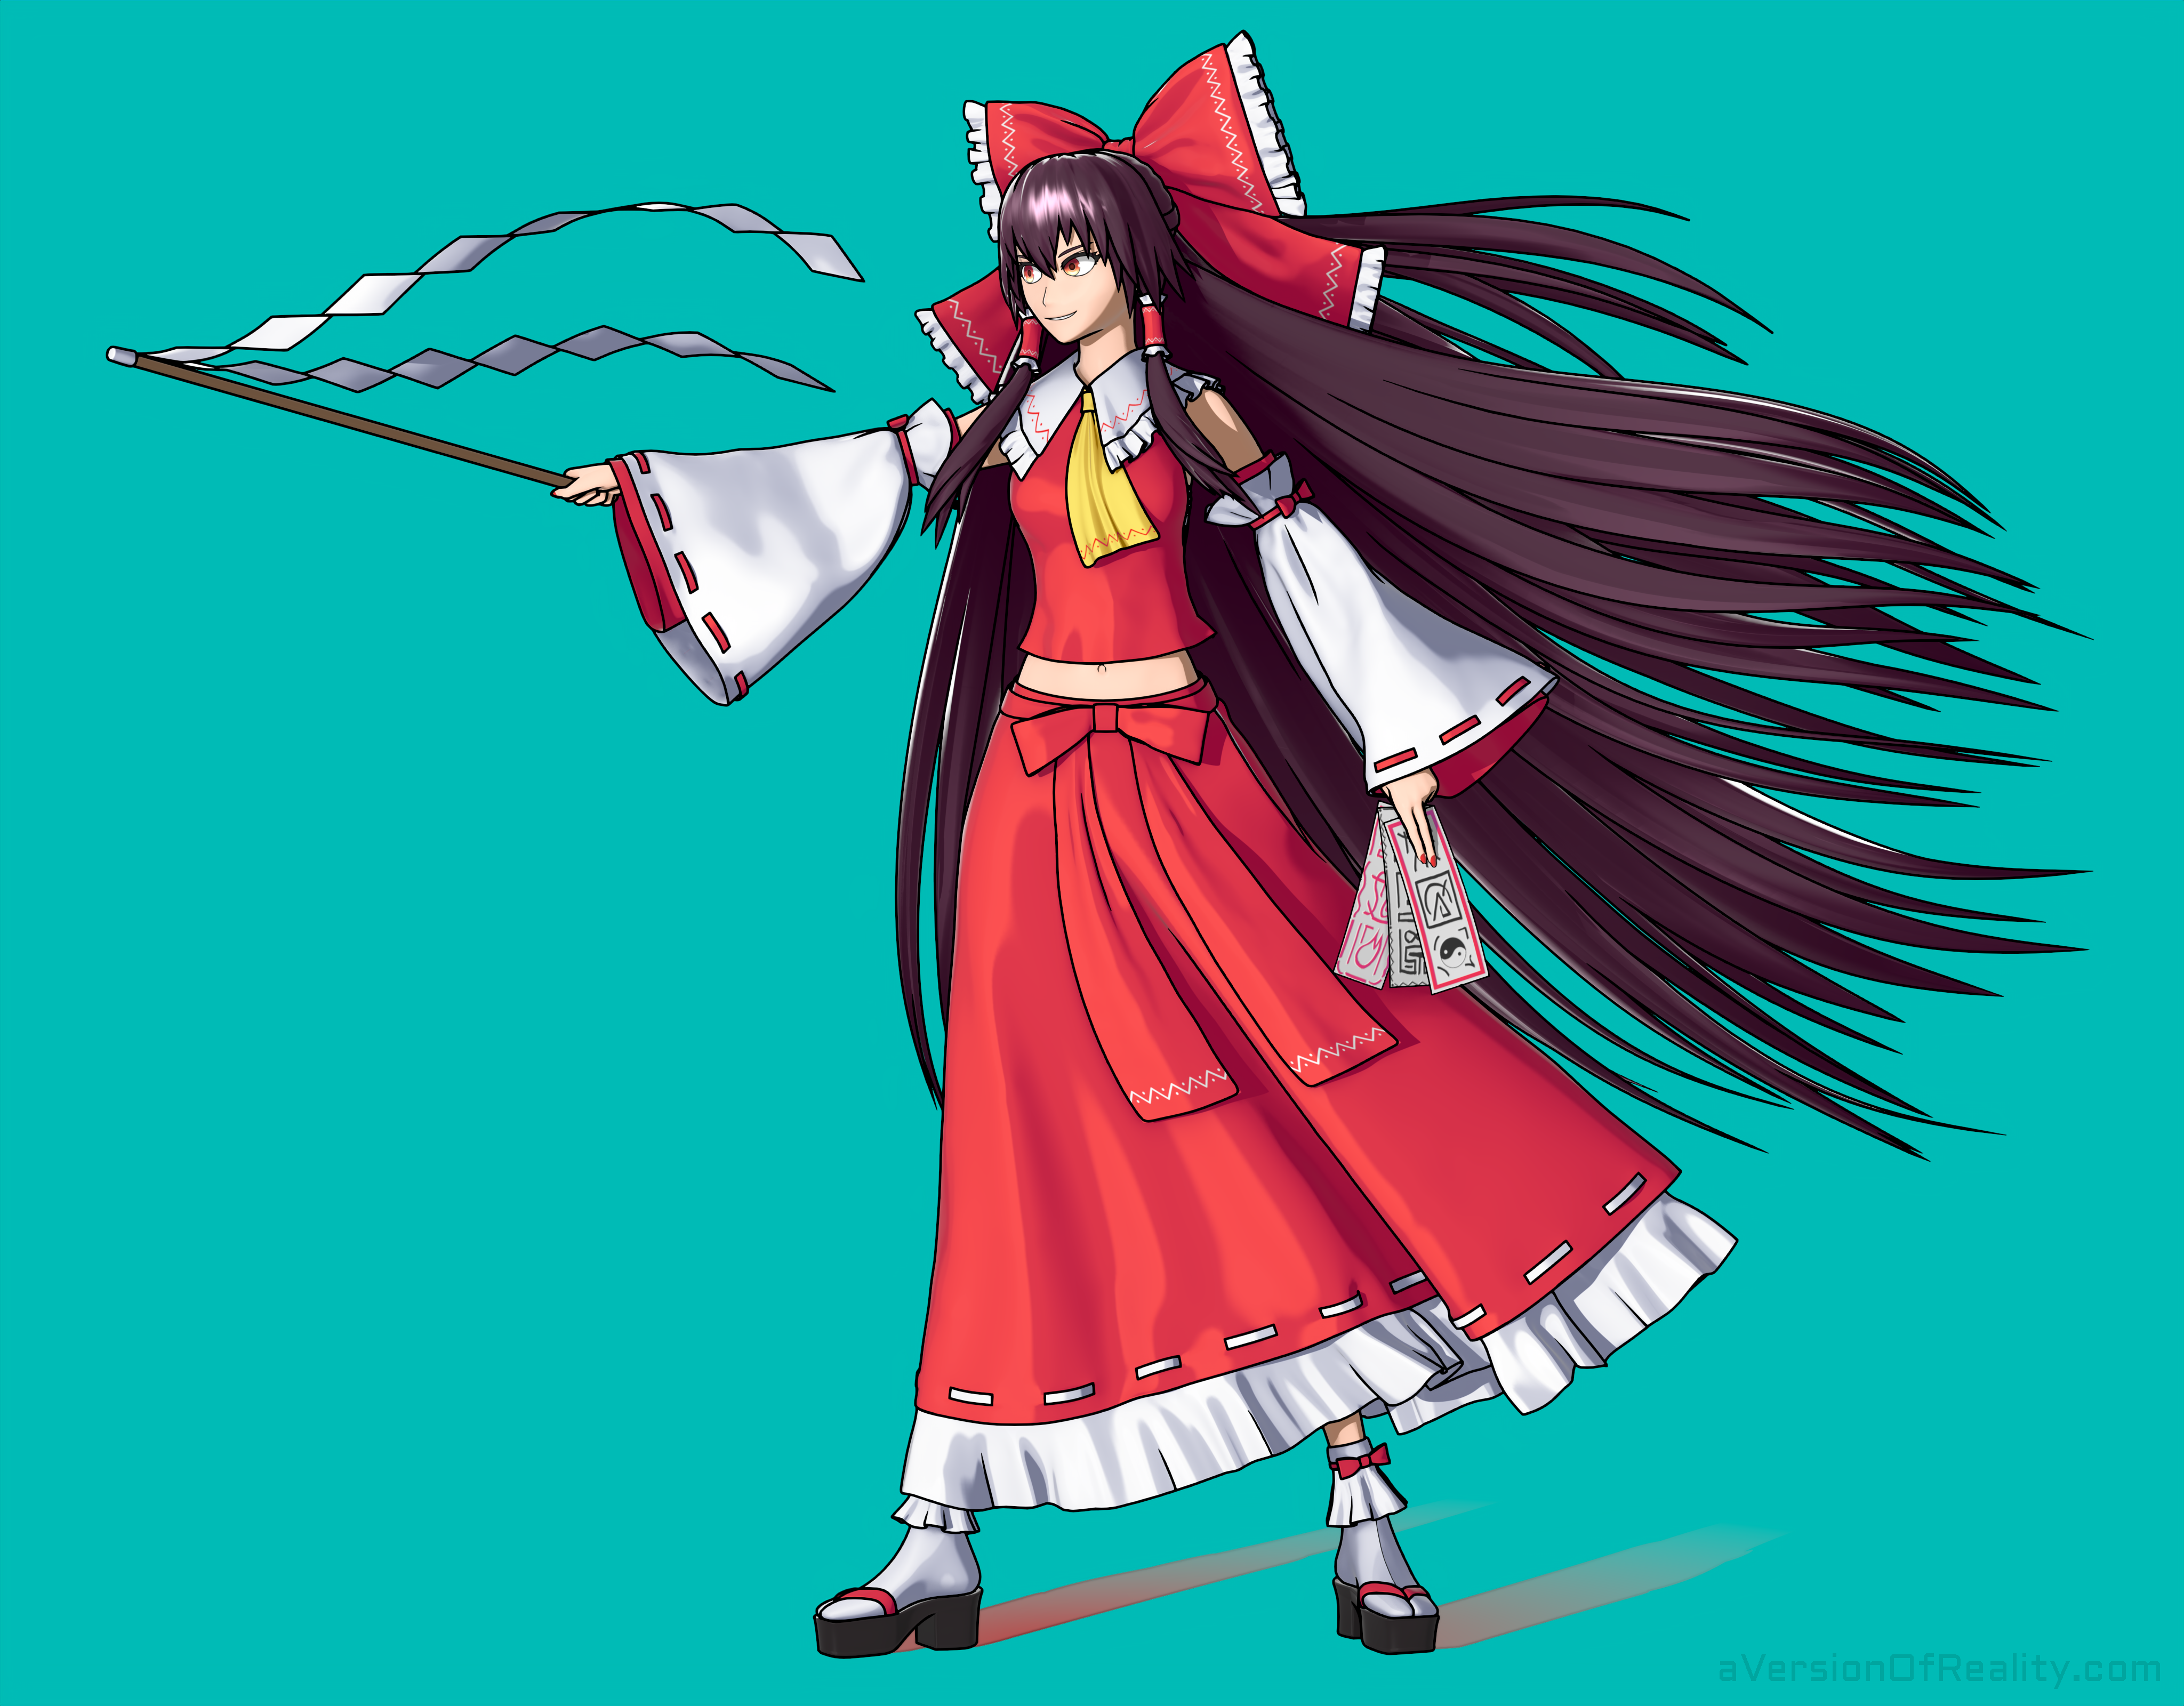
Reimu Hakurei from Touhou. This is a character workflow test using Blender 2.91 and Eevee+LANPR Lines. I had a bunch of free time in the early days of the Covid-19 lockdowns in spring 2020, so I decided to improve my cloth and long hair workflows. The goal was to make a character with complex hair and cloth that was still dynamic enough to efficiently create many still shots (as opposed to being modeled/sculpted into just one pose). This turned into a long, drawn out set of experiments that included learning Python to write a custom set of Animation Nodes for generating rigs, and then deciding I didn’t really need them.
This project primarily focused on the technical process, not the final artistic results (yet). I still need a lot of practice in that area.
Here’s a video overview of the project. This post will be a text summary and image dump, and also cover some things that I left out to prevent the video from being even longer. The images in this post are from varying points in development. They were made and posted on Twitter and Facebook as I went. Give me a follow if you want to see what’s happening with my current projects.

Gif quality is poor, watch the YouTube video for better quality.
The Body:

BendyBone face rig.
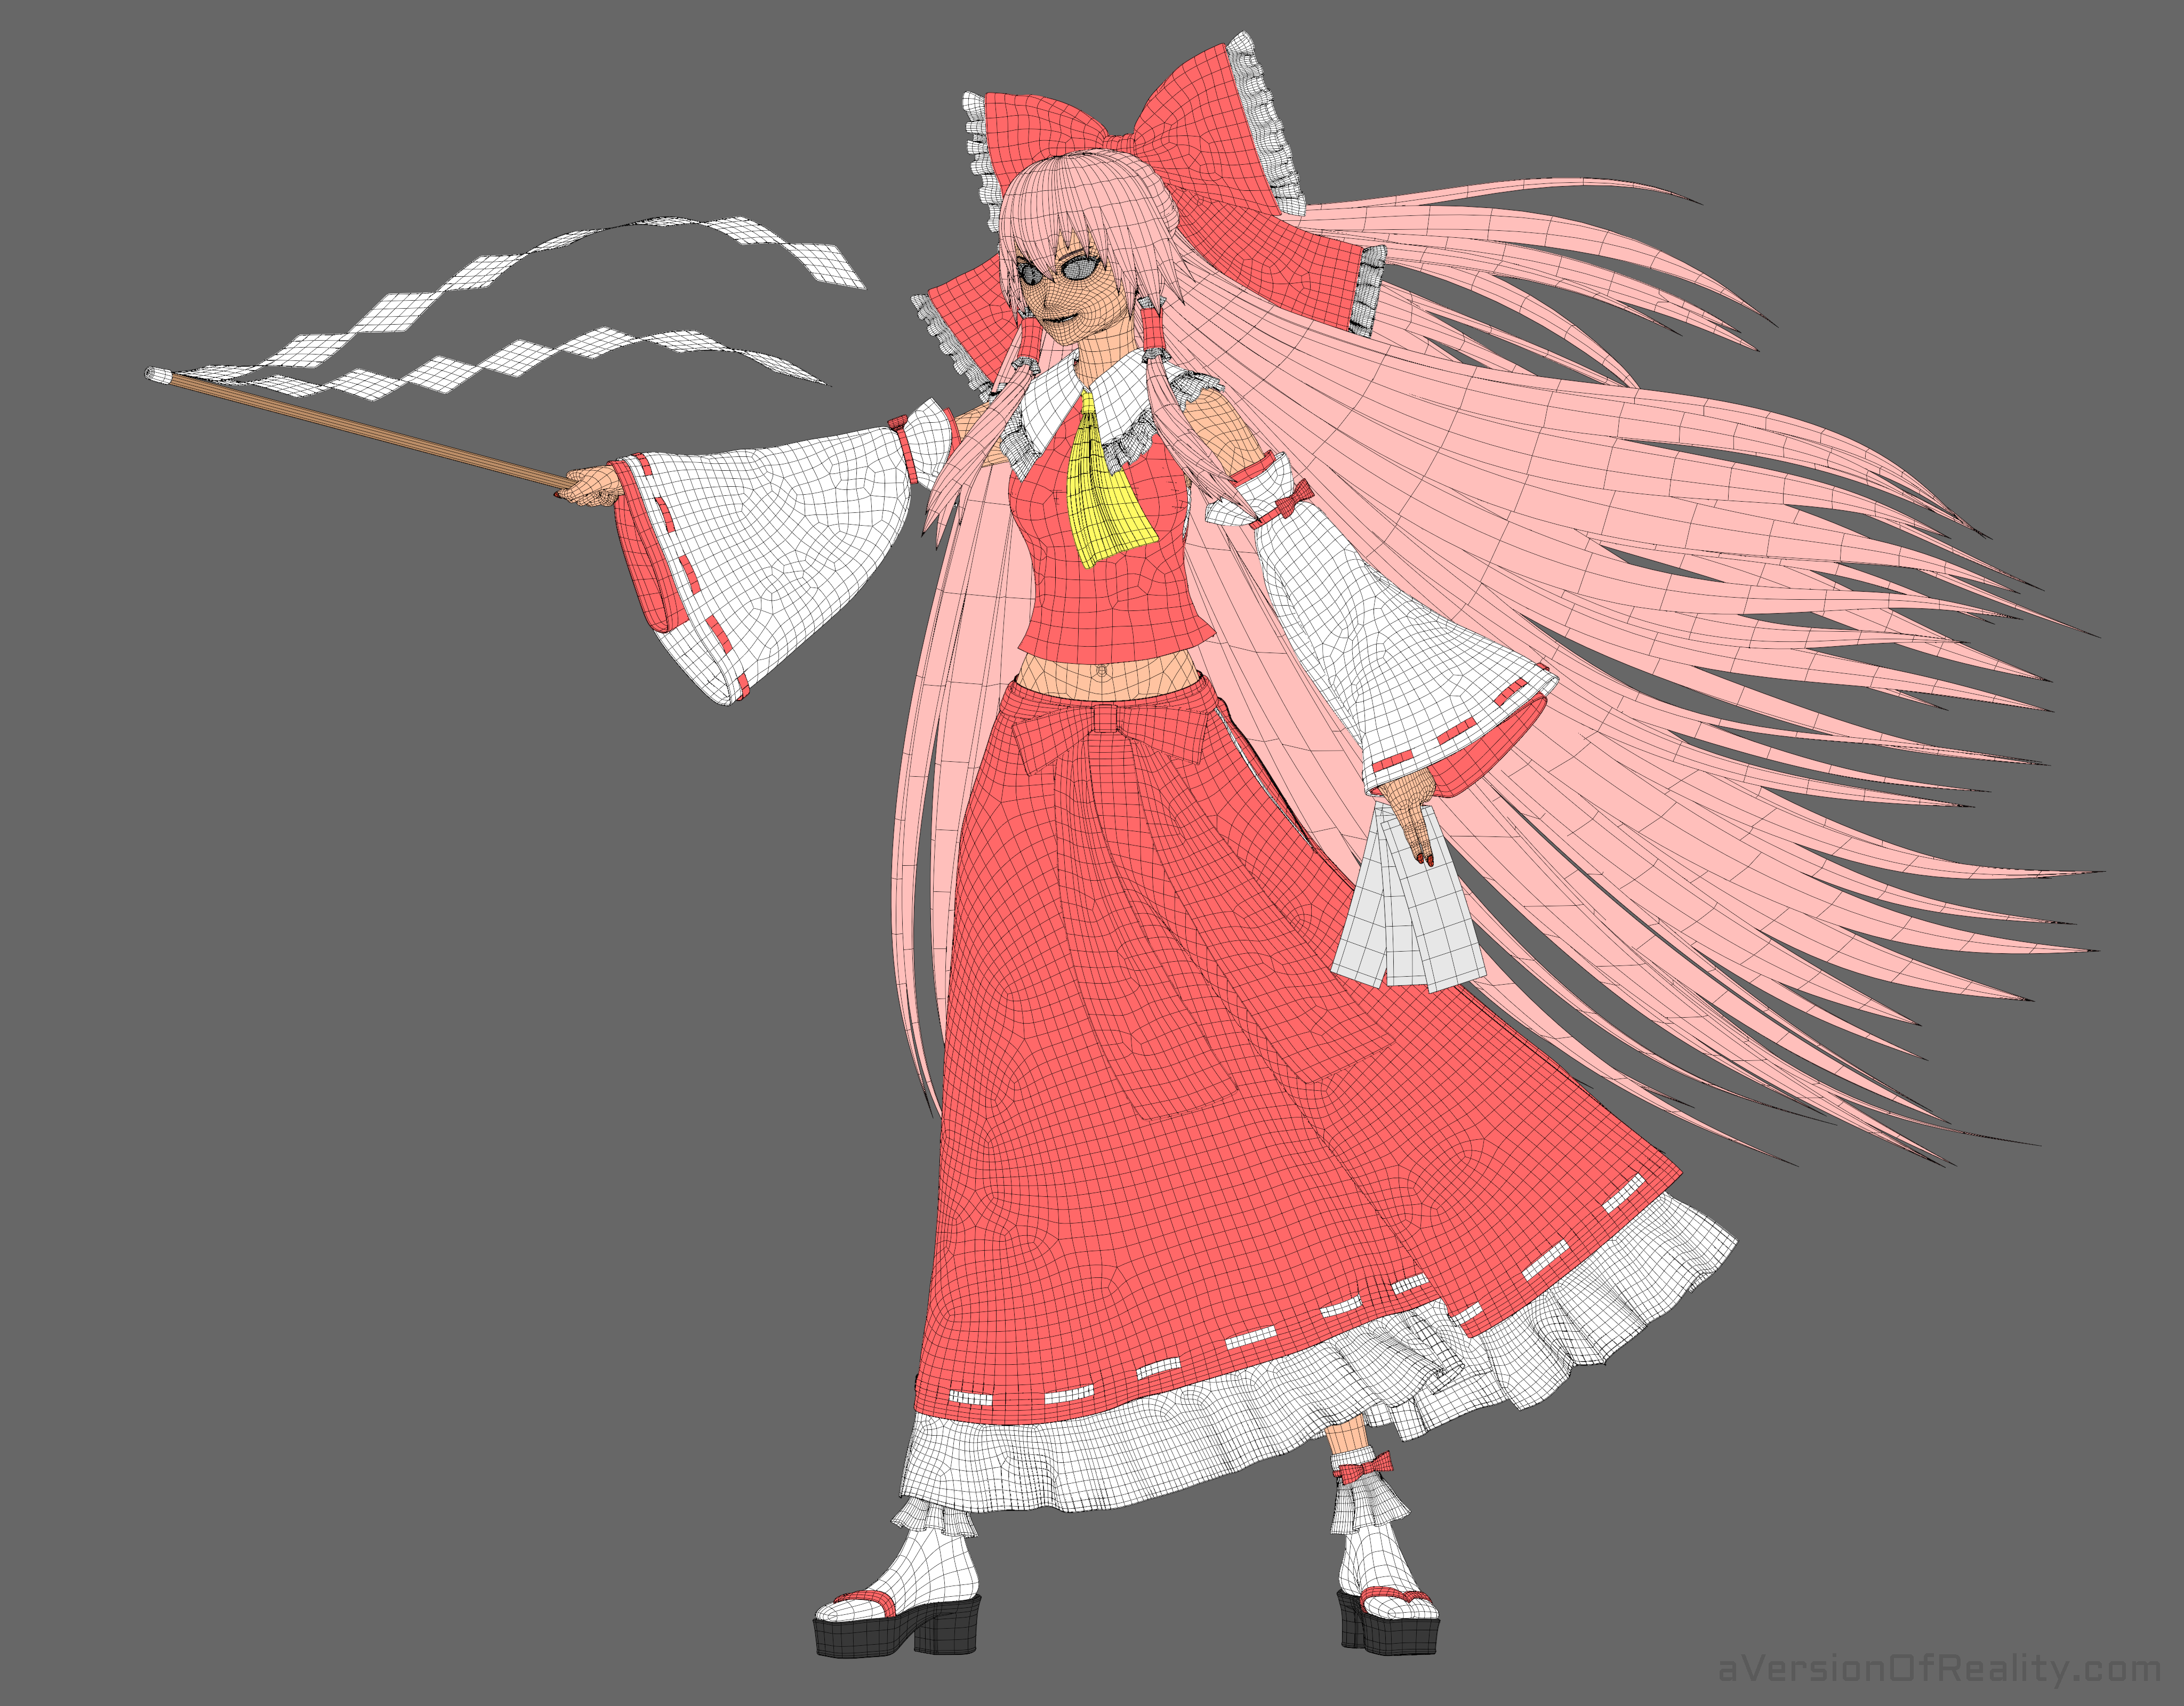
Topology. Click for super big.
The body was rolled over from previous projects. It has been upgraded over several years as I slowly learn anatomy.
Originally generated with the MBLab character generator addon. Used the Realistic Anime Female base. (Note: There may be license issues using this for commercial projects.)
Made major changes to the body, especially the face, using simple sculpt brushes (Smooth, Inflate/Deflate). No complex sculpting.
Retopologized in different stages over time. Everything has been changed from the original except for the feet and fingers.
The head has extra loops so that clean toon shading can be achieved without enabling subsurf. This causes triangles where it joins to the neck.
Body is rigged with a deform cage taken from the BlenRig addon.
The deform cage is rigged with Rigify, Blender’s stock rigging addon.
I have added my own custom corrective bones to improve joints. These are similar to those described in this video.
Both the Body and Deform Cage use Corrective Smooth modifier with vertex groups to further improve joints.
I replaced the entire face rig with my own based on BendyBones. Each bbone strand uses handle bones to behave like a bezier curve (requires drivers). This gives lots of control with much less weight painting. The goal was a rig that could be used for expressions, or for completely changing the face to create different characters.
The Clothing:
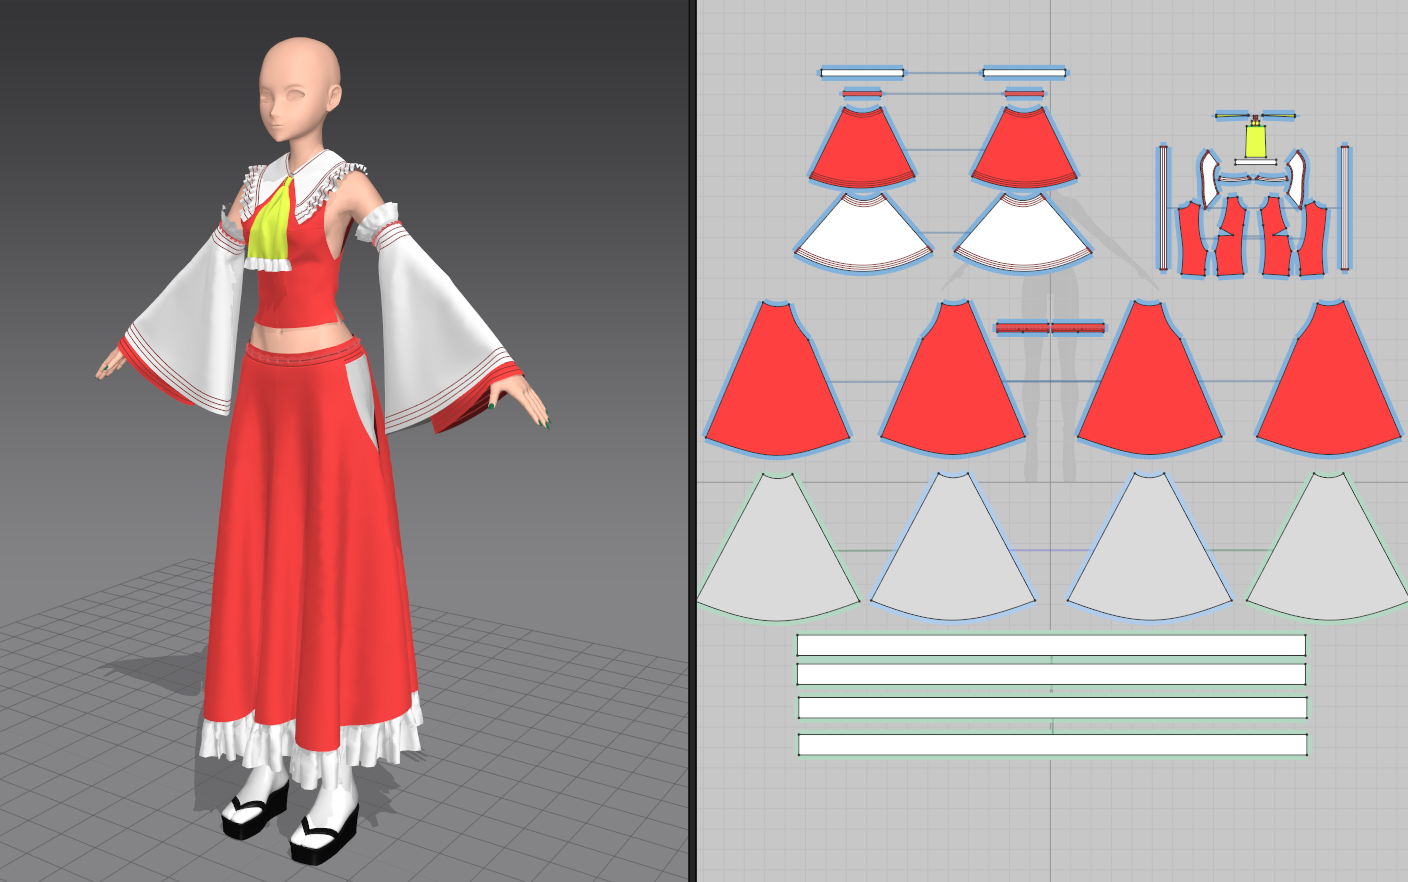
Early pattern WIP in Marvelous Designer
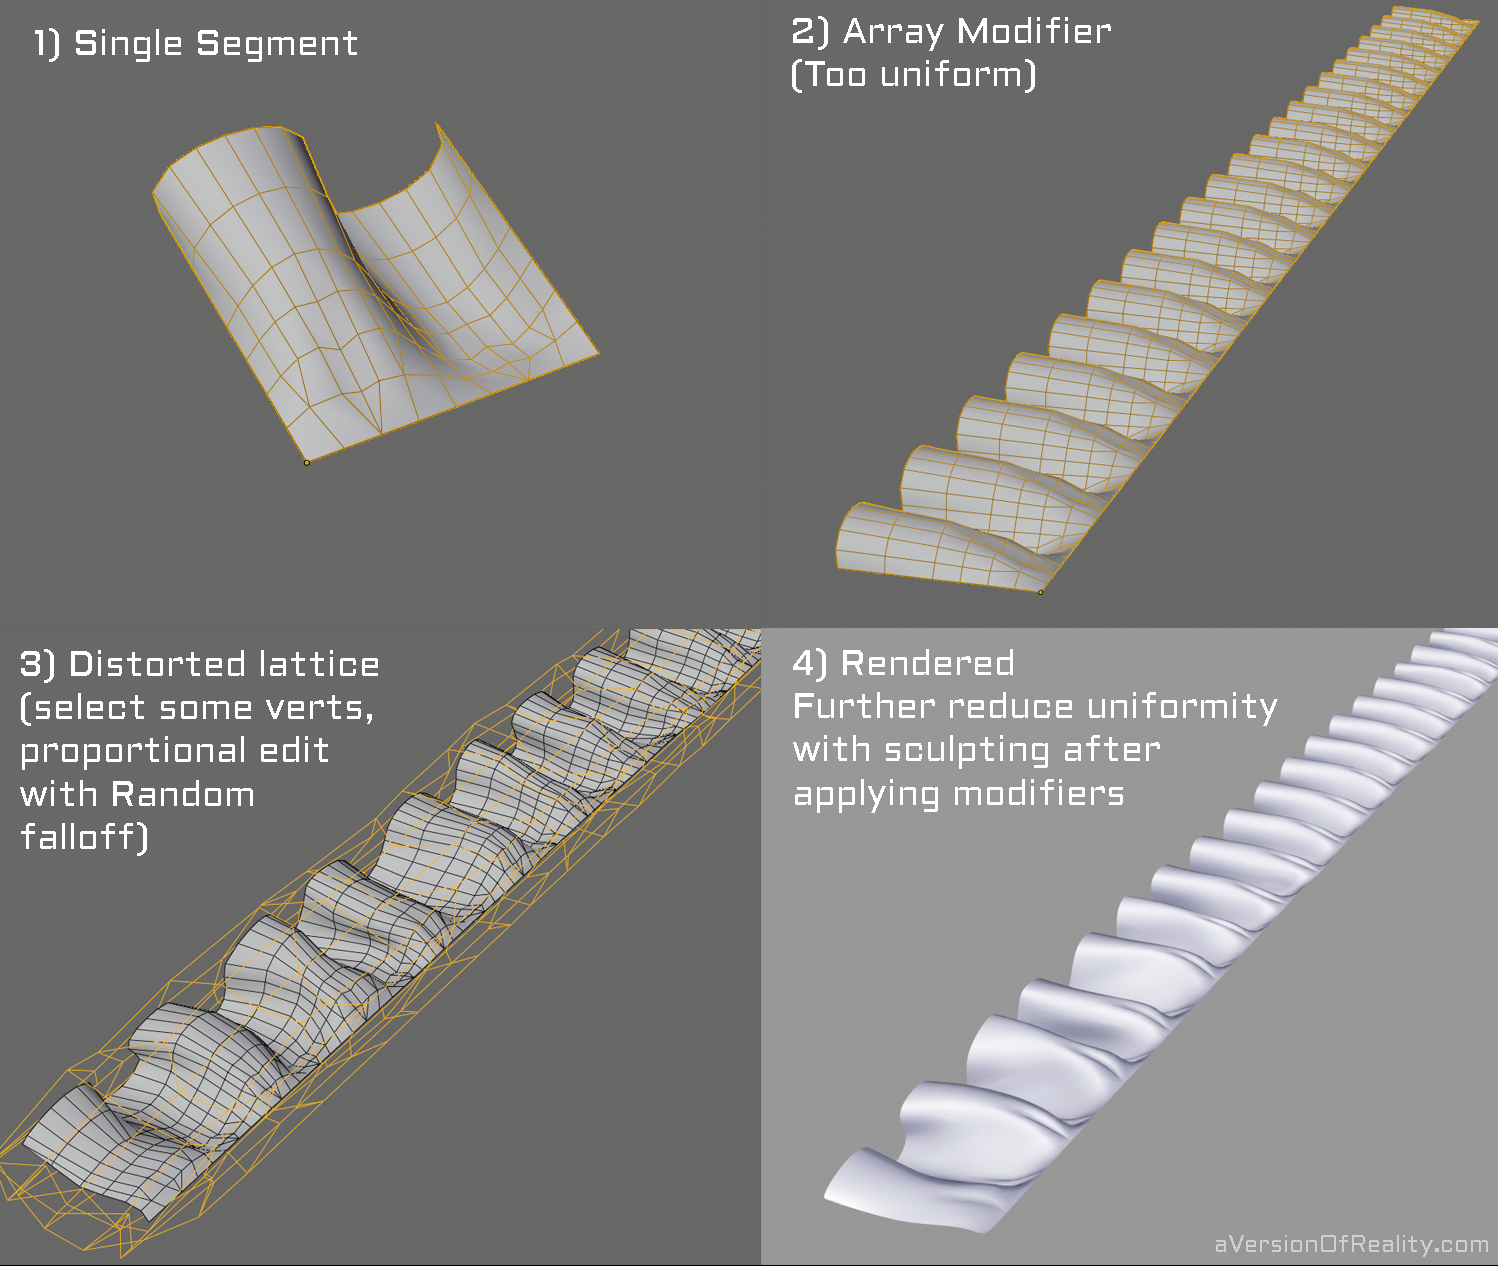
Ruffle Construction. Click for bigger.
My previous Rei Project had used no cloth, so this time I wanted to work with lots of cloth, especially layers!
My previous Miku project used Blender 2.8’s updated cloth sim, but that was back in beta and didn’t use many layers. There have been performance improvements since. See my post on the Miku project for lots more info on cloth sim in blender.
The clothing was originally modeled in Marvelous Designer. It could have been made in Blender, but as I’m already familiar with MD, it was more efficient to use it.
Due to MD’s auto topology generation, a bunch of it looks odd. This is because MD, and cloth sim in general, cares about vertex density but not loop flow. In some places this creates bad shading but with a couple levels of subsurf it smooths out. Retopology is generally not necessary on pure cloth objects.
The skirts were exported from MD stiffened, with no wrinkles. They were then simmed in Blender.
Ruffles/frills modeled in Blender using the Array and Curve modifiers to place a segment around the hem of the cloth.
The cloth is not rigged to the armature except where it is close to the body, such as the waist of the skirt and top of the shirt. Those use the Mesh Deform modifier to bind to the body’s Deform Cage.
The collar needed multiple levels of thickness. A thickened version is attached to a thin version using Surface Deform. The thin version gets the cloth sim but doesn’t render.
After the cloth simulation is done, it is saved to shape keys and then improved by hand with Sculpting.

Cloth Sim + Wind Test
The Hair:

Bbones and lattices.

Bbone bangs rig in action (strand edges were joined later.)

Bangs topology and (early) shading.
Bangs were created with my Flat Modeling technique.
Ponytail and side bundles are loose strands shaped with a bezier curve and Curve Modifier.
Long hair non-destructively modeled with a big stack of modifiers that control length and tapering of each strand via vertex groups.
Custom scripts were used to generate randomized vertex groups.
Short hair is rigged with BendyBone strands setup to behave like bezier curves via handles and drivers.
I wrote a complex scripting setup using custom nodes in Animation Nodes to handle generating the bangs rig, but its more trouble than its worth due to me being a novice coder at the time. Easier to just copy and paste a rig strand manually.
I also wrote some simpler nodes for handling mass generation of bone constraints, drivers, and vertex groups. These are much more functional. I’ll try to release them at some point (scroll way down for examples.)
Long hair is rigged in bundles using Lattices. The lattice weight groups were copied from an identical mesh object via another script I made, as Lattices don’t have their own weight tools. Rigging lattices to armatures isn’t really viable without this. (Script is posted at the end.)
The long hair bone chains are multi-segment BBones. They use 1 large bbone, and then smaller bbones follow down its length by using the Head/Tail slider of the Copy Transforms constraint on the handles of the small bbone segments.
There are constraints setup to pull the edges of the lattices together like a zipper. This allows the hair to be separated into bundles, or to behave like a single sheet.
Volume problems caused by the lattices stretching the hair are compensated for by using the distance between the bone chains at the edge of each lattice to drive a Smooth modifier, which tapers the strands.
There’s a lot of potential for using the new Geometry Nodes system in 2.92 to automate most of this workflow. Hopefully between that and a cleaner Animation Nodes setup, I can make a user friendly tool.

Early test of the script generating the bangs rig.

The rigging nodes. The lower half is the program, the upper half is the graph that generates the bangs rig. There’s also like 10 python script files. Good concept, but I wrote this while learning Python, so its horribly inefficient and unreliable. Hopefully can make something better now, and with the help of the new Geometry Nodes.
The Eyes:
I got a long way to go on my expressions, but not because the rig isn’t good.
UPDATE: There is now an extensive video series on making this sort of eye.
The eye geometry is a bent plane with a half sphere indent created with a Displacement modifier and sphere texture. The texture uses Object Projected coordinates, so it appears around an empty object.
The eye geometry does not move. Instead, the texture is moved across it. This avoids problems with large spherical eyes, or with concave/hollow toon eyes. It does require a high subsurf level to be clean up close.
The color texture is a mix of procedural shapes and hand painted image textures (both Object projected.)
Most of the eye is built from ramping a procedural sphere to create lines and gradients.
Pretty much any procedural eye texture will work for this method.

Lots of flexibility. Need to rig the eyelash spikes though.

Iris and Pupil rigging. The Empty objects that control the textures are constrained to the bones.
The Materials:

Bangs fake shading mask.
Just the Shading Pass (including faked shading.) Click to enlarge.
The main shader is the same as in my Big Shader Video, but with some adjustments and cleanup due to new nodes added since, and some mix mode changes in the Inject group setup.
Most materials have a layer of hard edged toon shading, a layer of regular soft toon shading, and Ambient Occlusion. The Cloth has a second layer of toon shading, but soft this time.
All materials have regular non-toon gloss and also boosted white Rim lighting.
Toon Size/Smooth, IOR, Roughness, amount of soft shading and AO, etc all vary by material.
Material color is often different in the shadows to make things more interesting.
Hair uses a procedural strand texture to vary Toon Size, and another as a Bump Map. This creates the appearance of strands.
Hair has faked shading at the tips created with a procedural texture and extra UV layer. This implies more shape, mimicking the way hair is often drawn.
The forehead anisotropic highlight is faked with a texture, and not really anisotropic. It is Object projected and rigged to give more control.
The spell cards use randomized modular textures for their symbols and borders. These are possible due to the 4D White Noise procedural texture allowing you to generate multiple random values per object/material. (Update: Tutorial)
The spell card textures were done by hand in Krita (poorly).

Toggling the Cloth’s extra shading layer on and off.
Shot Specific Adjustments:

Fake face shading (early version using a procedural texture to create the shading. Later versions use procedural Normals.)
The face shading is faked by using procedural textures to replace the Normals. This gives clean shading regardless of geometry, and is also Object Projected so it can be controlled from the rig. You can adjust it to look good from a fixed angle, but won’t hold up from others. Still highly experimental setup, but shows promise. (You can notice some odd shading in the turn tables from some angles.) (Update: Tutorial)
The cast/occlusion shadows in Eevee are still weak, so I rendered them out of Cycles and Window Projected them in the material. Same method as my second Rei Project (video tutorial). It would also work fine to bake them to image textures if you wanted them to work from other angles, but I’m lazy. (This is why there’s no shadows in the turntables.)
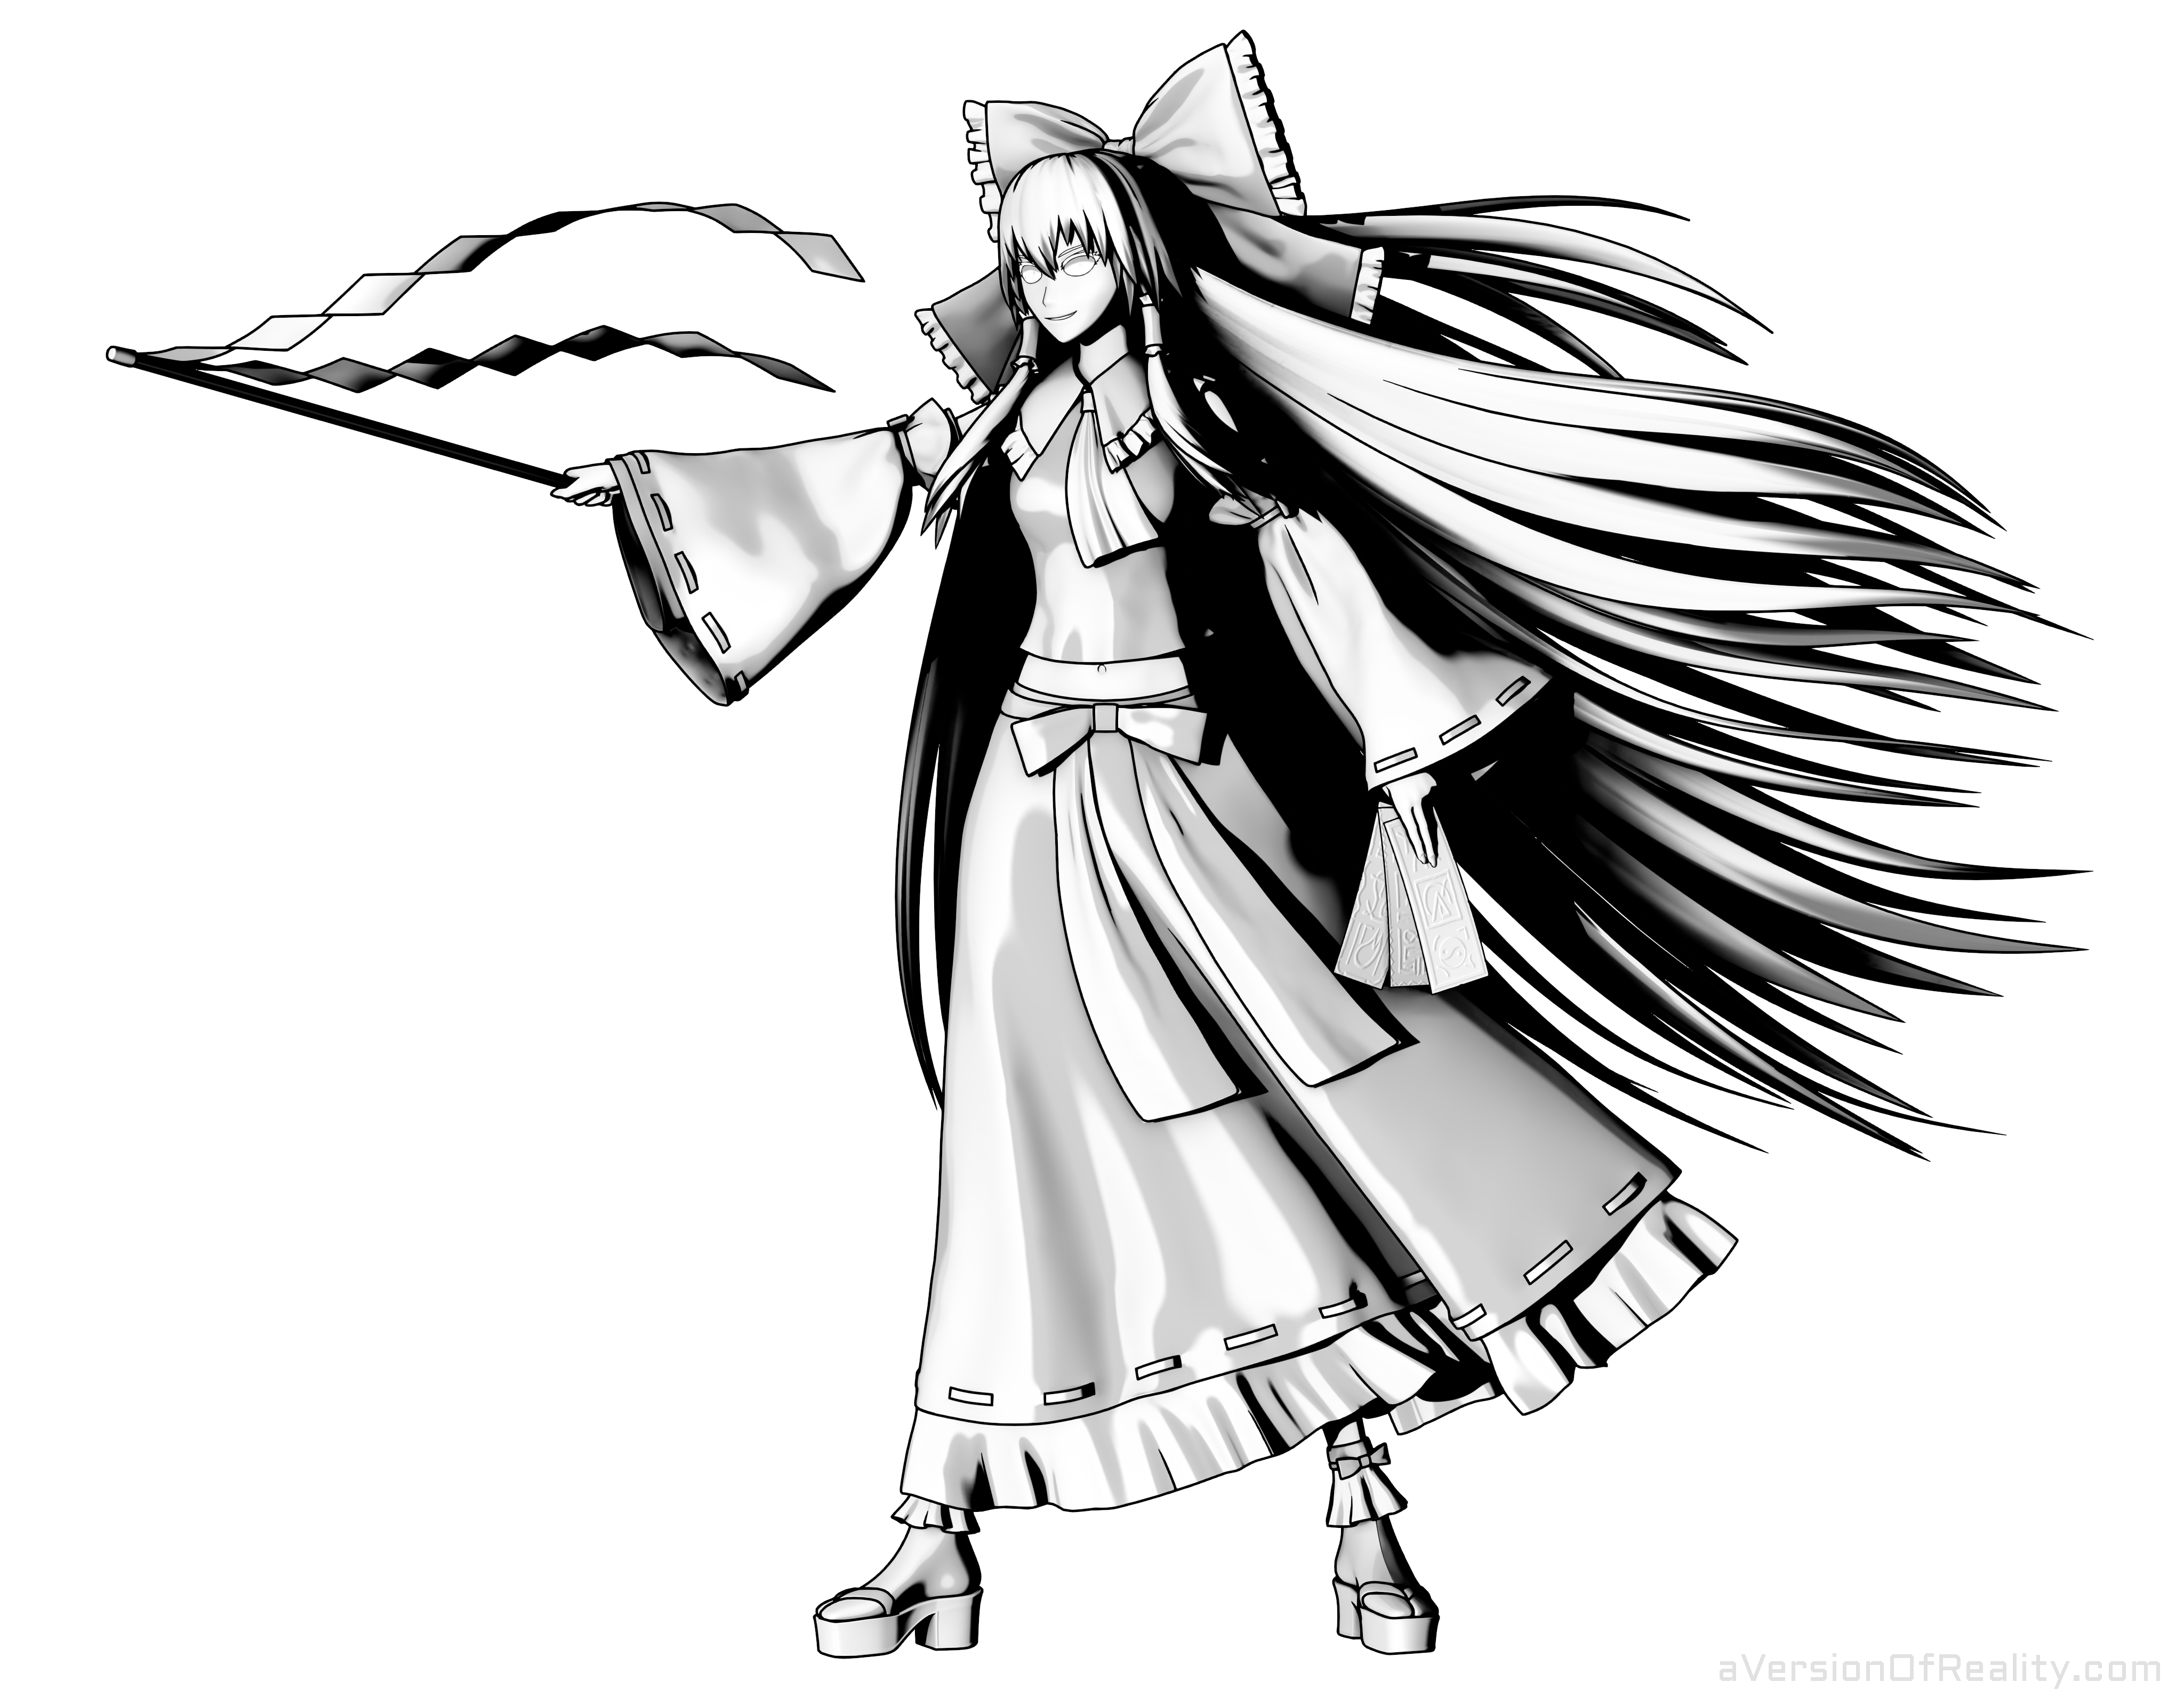
The Line Art is grease pencil generated with LANPR and cleaned up by hand, also like my second Rei Project. (Freestyle would also have worked, but I was fedup with it at the time. This is why there’s no lines in the turntables.)
The long hair has some shading issues with edges that are sharp instead of smooth. This is solved by baking Beveled Normals from Cycles to a tangent normal map. Needs to be re-baked if the pose is changed, and is tricky to get right due to baking artifacts. (Yeah, this was also disabled in the turntables :P)

Baked Bevel normal map fixing bad edges and blending it all together. Also helps reduce the impact of intersections.
Conclusion:
Overall, I’m pretty happy with most of this workflow. If I wanted to make lots of art and different poses with it, it would work and not be too annoying. But since finishing this project in Summer 2020, there’s been a ton of new tools released. We’ve now got the BEER/Malt render engine, and blender 2.92 is about to come out with its new Geometry Nodes system, Eevee AOVs, and more. I barely got to work on 3D for the rest of 2020, but despite that I’ve already made improvements on lots of things here. This is all going to get higher quality, more efficient, and more user friendly!
I’m also happy to announce that I have finally setup a Patreon, and will be on a monthly release schedule for videos. If I can get even a little bit of support, I can spend a lot more time creating tutorials and helping people with their projects. Also please follow along on Twitter for regular experiments and project WIPs, and subscribe on YouTube!
Other Work In Progress stuff and Misc Images:

Early alternate Bangs style, and light test on face using unmodified Normals.

Random-per-object modular textures. (Update: Tutorial)
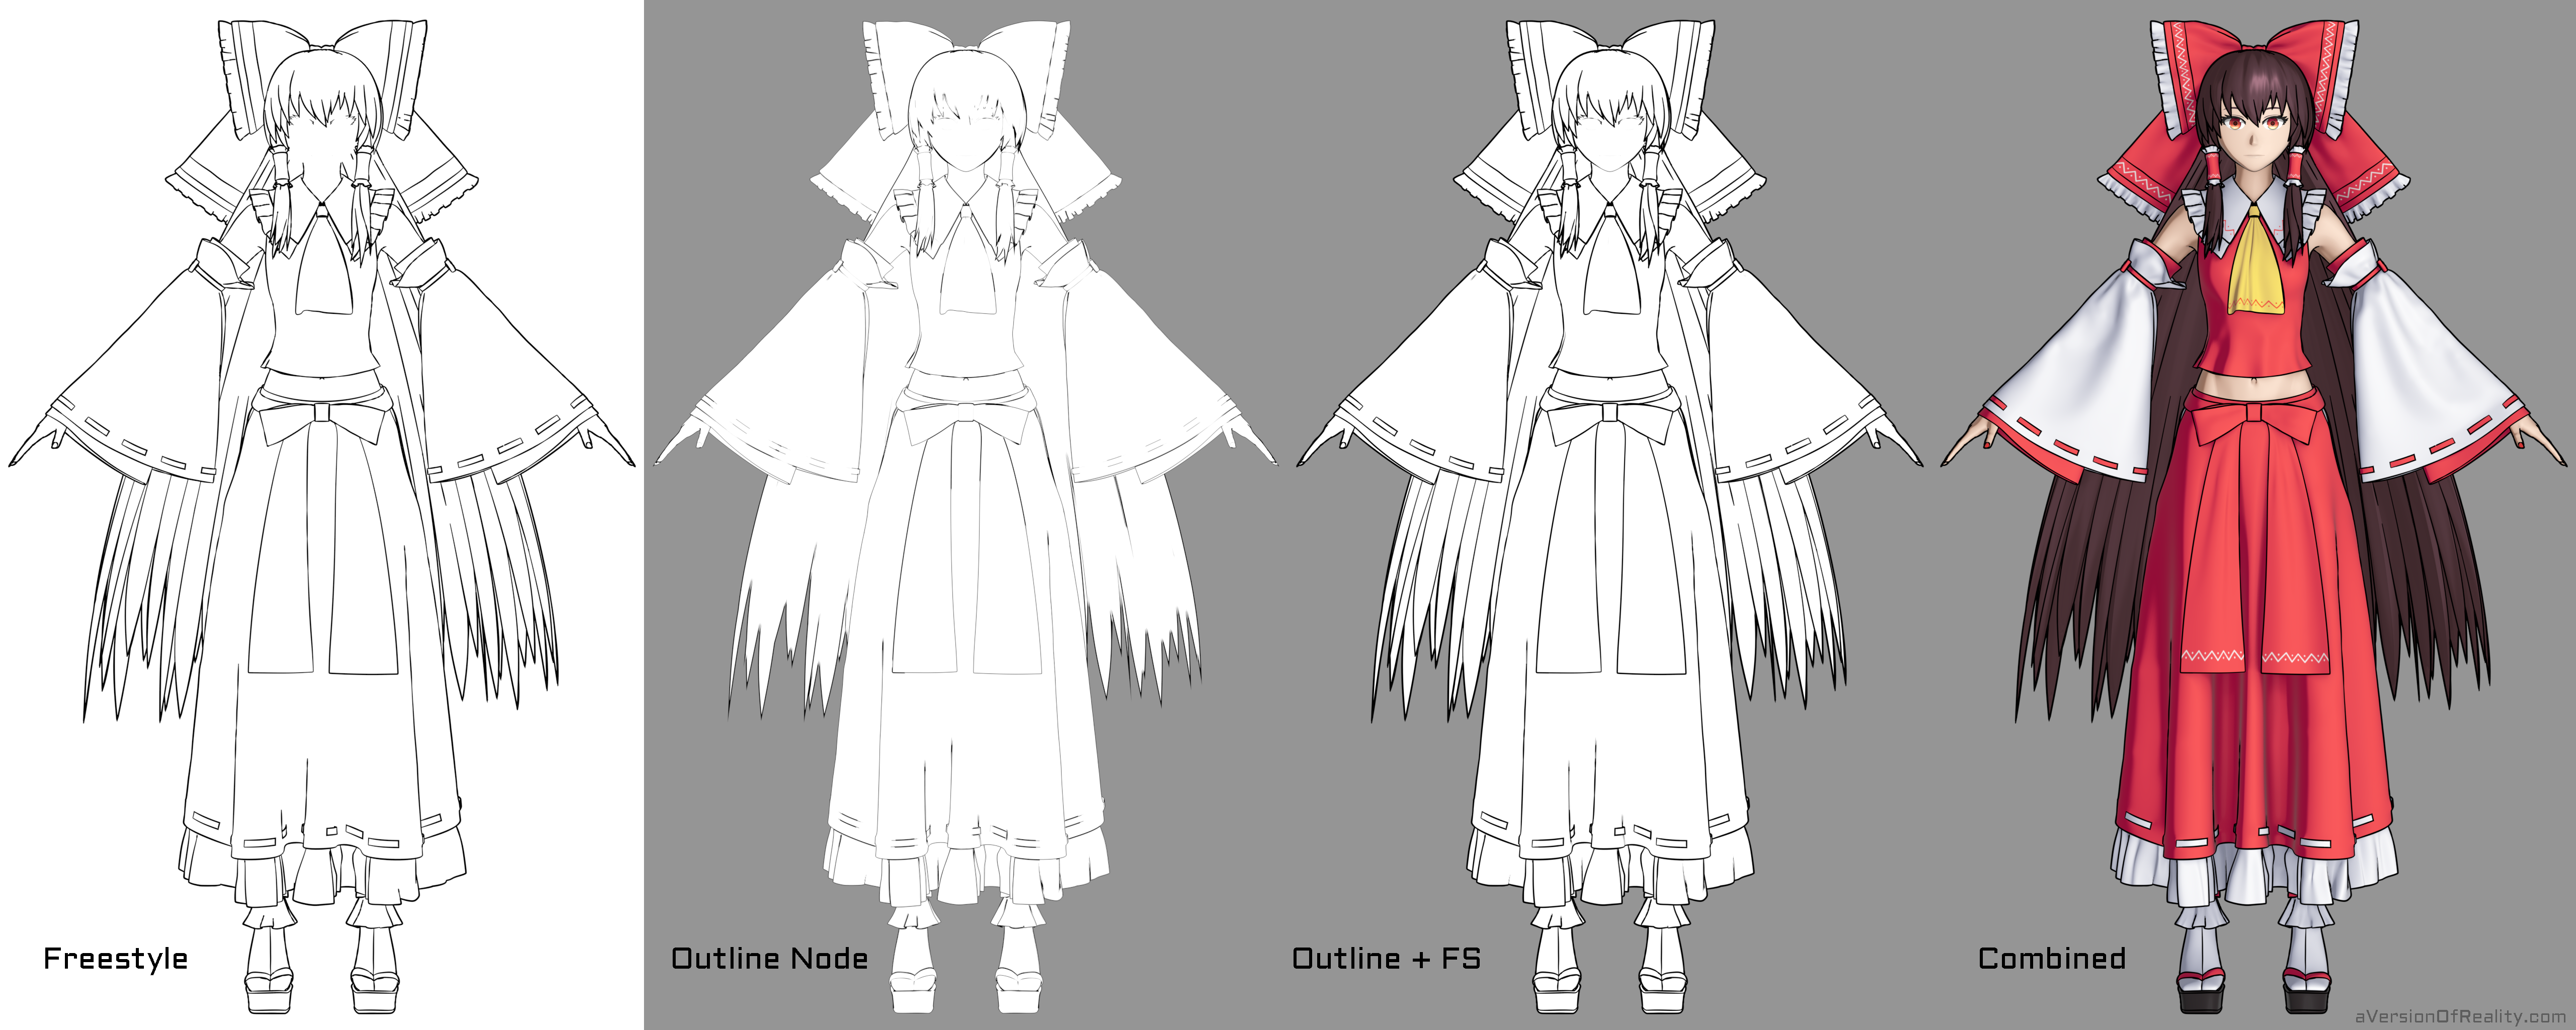
Different methods of Line Art, including an experimental Line Art node. Click for full size.

I thought about including her flaming spheres, but couldn’t get an effect that fit in. Maybe I’ll come back to these for a Scene.

The effect is made with Procedural Textures on multiple spherical shells with some displacement. Not true volumetrics.

I figured out a setup to render out Custom Passes using the new dependency graph drivers. These can then be re-combined in a new file or paint program for post work. However, Eevee is getting AOVs now, so this driver method probably won’t be needed soon. We’ll see. (Don’t mind some of the thumbnails not displaying right.) (Update: Tutorial 1, Tutorial 2, Tutorial 3.)

Constraint Nodes demonstration. The values in the bone constraints are being overridden whenever the nodes are executed, and they execute whenever a property is changed.

Generating weight groups by cross referencing other groups (also with custom nodes.)

Driver generation nodes setting up bbone property drivers.
Script to copy weights from mesh to lattice. Save as .py.
### Mesh Weights to Lattice Script
###  MADE BY aVersionOfReality.com, @AversionReality
# How it works:
# - Select a lattice, then a mesh you want to transfer groups from.
# - All vertex groups on the mesh object will be created on the lattice. with 0 weight at first.
# - For each point in the lattice, it checks for any verts within the distance margin.
# - For each vert in range (should only be 1), it assigns weights to vertex groups.
# - Works in Global space, so origin point location doesn't matter, only vert and point location.
# - I don't know what will happen if multiple points are in range. Not extensively tested.
# - I am not experienced at Python so don't use this as a reference.

import bpy
from mathutils import Vector

####
margin = .0001

####
selected = bpy.context.selected_editable_objects
active = bpy.context.active_object
selected.remove(active)

mesh = active
lattice = selected[0]

#####################
def make_groups(mesh, latt):
    #get vertex groups on objects
    mesh_groups = [g.name for g in mesh.vertex_groups]
    latt_groups = [g.name for g in lattice.vertex_groups]

    #create groups that don't already exist
    for g in mesh_groups:
        if g not in latt_groups:
            lattice.vertex_groups.new(name=g)

def compare_loc(loc1, loc2):
    distance = (loc2 - loc1).length
    return distance

def copy_weights(mesh, lattice, vert, point, index):
    #get group names and weight
    group_weight = {}
    for vg in vert.groups:
        for vgroup in mesh.vertex_groups:
            if vgroup.index == vg.group:
                gname = vgroup.name

        group_weight.update({gname:vg.weight})
        group_keys = [key for key in group_weight]
        #print(group_keys)

    #get index of group of the same name on lattice, replace group name with index
    for vgroup in lattice.vertex_groups:
        for key in group_keys:
            if vgroup.name == key:
                group_weight[vgroup.index] = group_weight.pop(key)

    #print(group_weight)
    #assign weights to points
    for ind, weight in group_weight.items():
        #print('index =', ind, 'weight =', weight)
        lattice.vertex_groups[ind].add([index], weight, 'REPLACE')

#-------Program-------#

make_groups(mesh, lattice)

#list verts and points
verts = [v for v in mesh.data.vertices]
points = [p for p in lattice.data.points]

#if same loc, copy weights
for ind, p in enumerate(points):
    p_loc = lattice.matrix_world @ p.co
    for v in verts:
        v_loc = mesh.matrix_world @ v.co
        #compare locations
        distance = compare_loc(p_loc, v_loc)
        #print(distance)

        if distance <= margin:
            match = True
            #print(match, distance)
        else:
            match = False

        if match:
            copy_weights(mesh, lattice, v, p, ind)