Solidus Snake Image Breakdown
/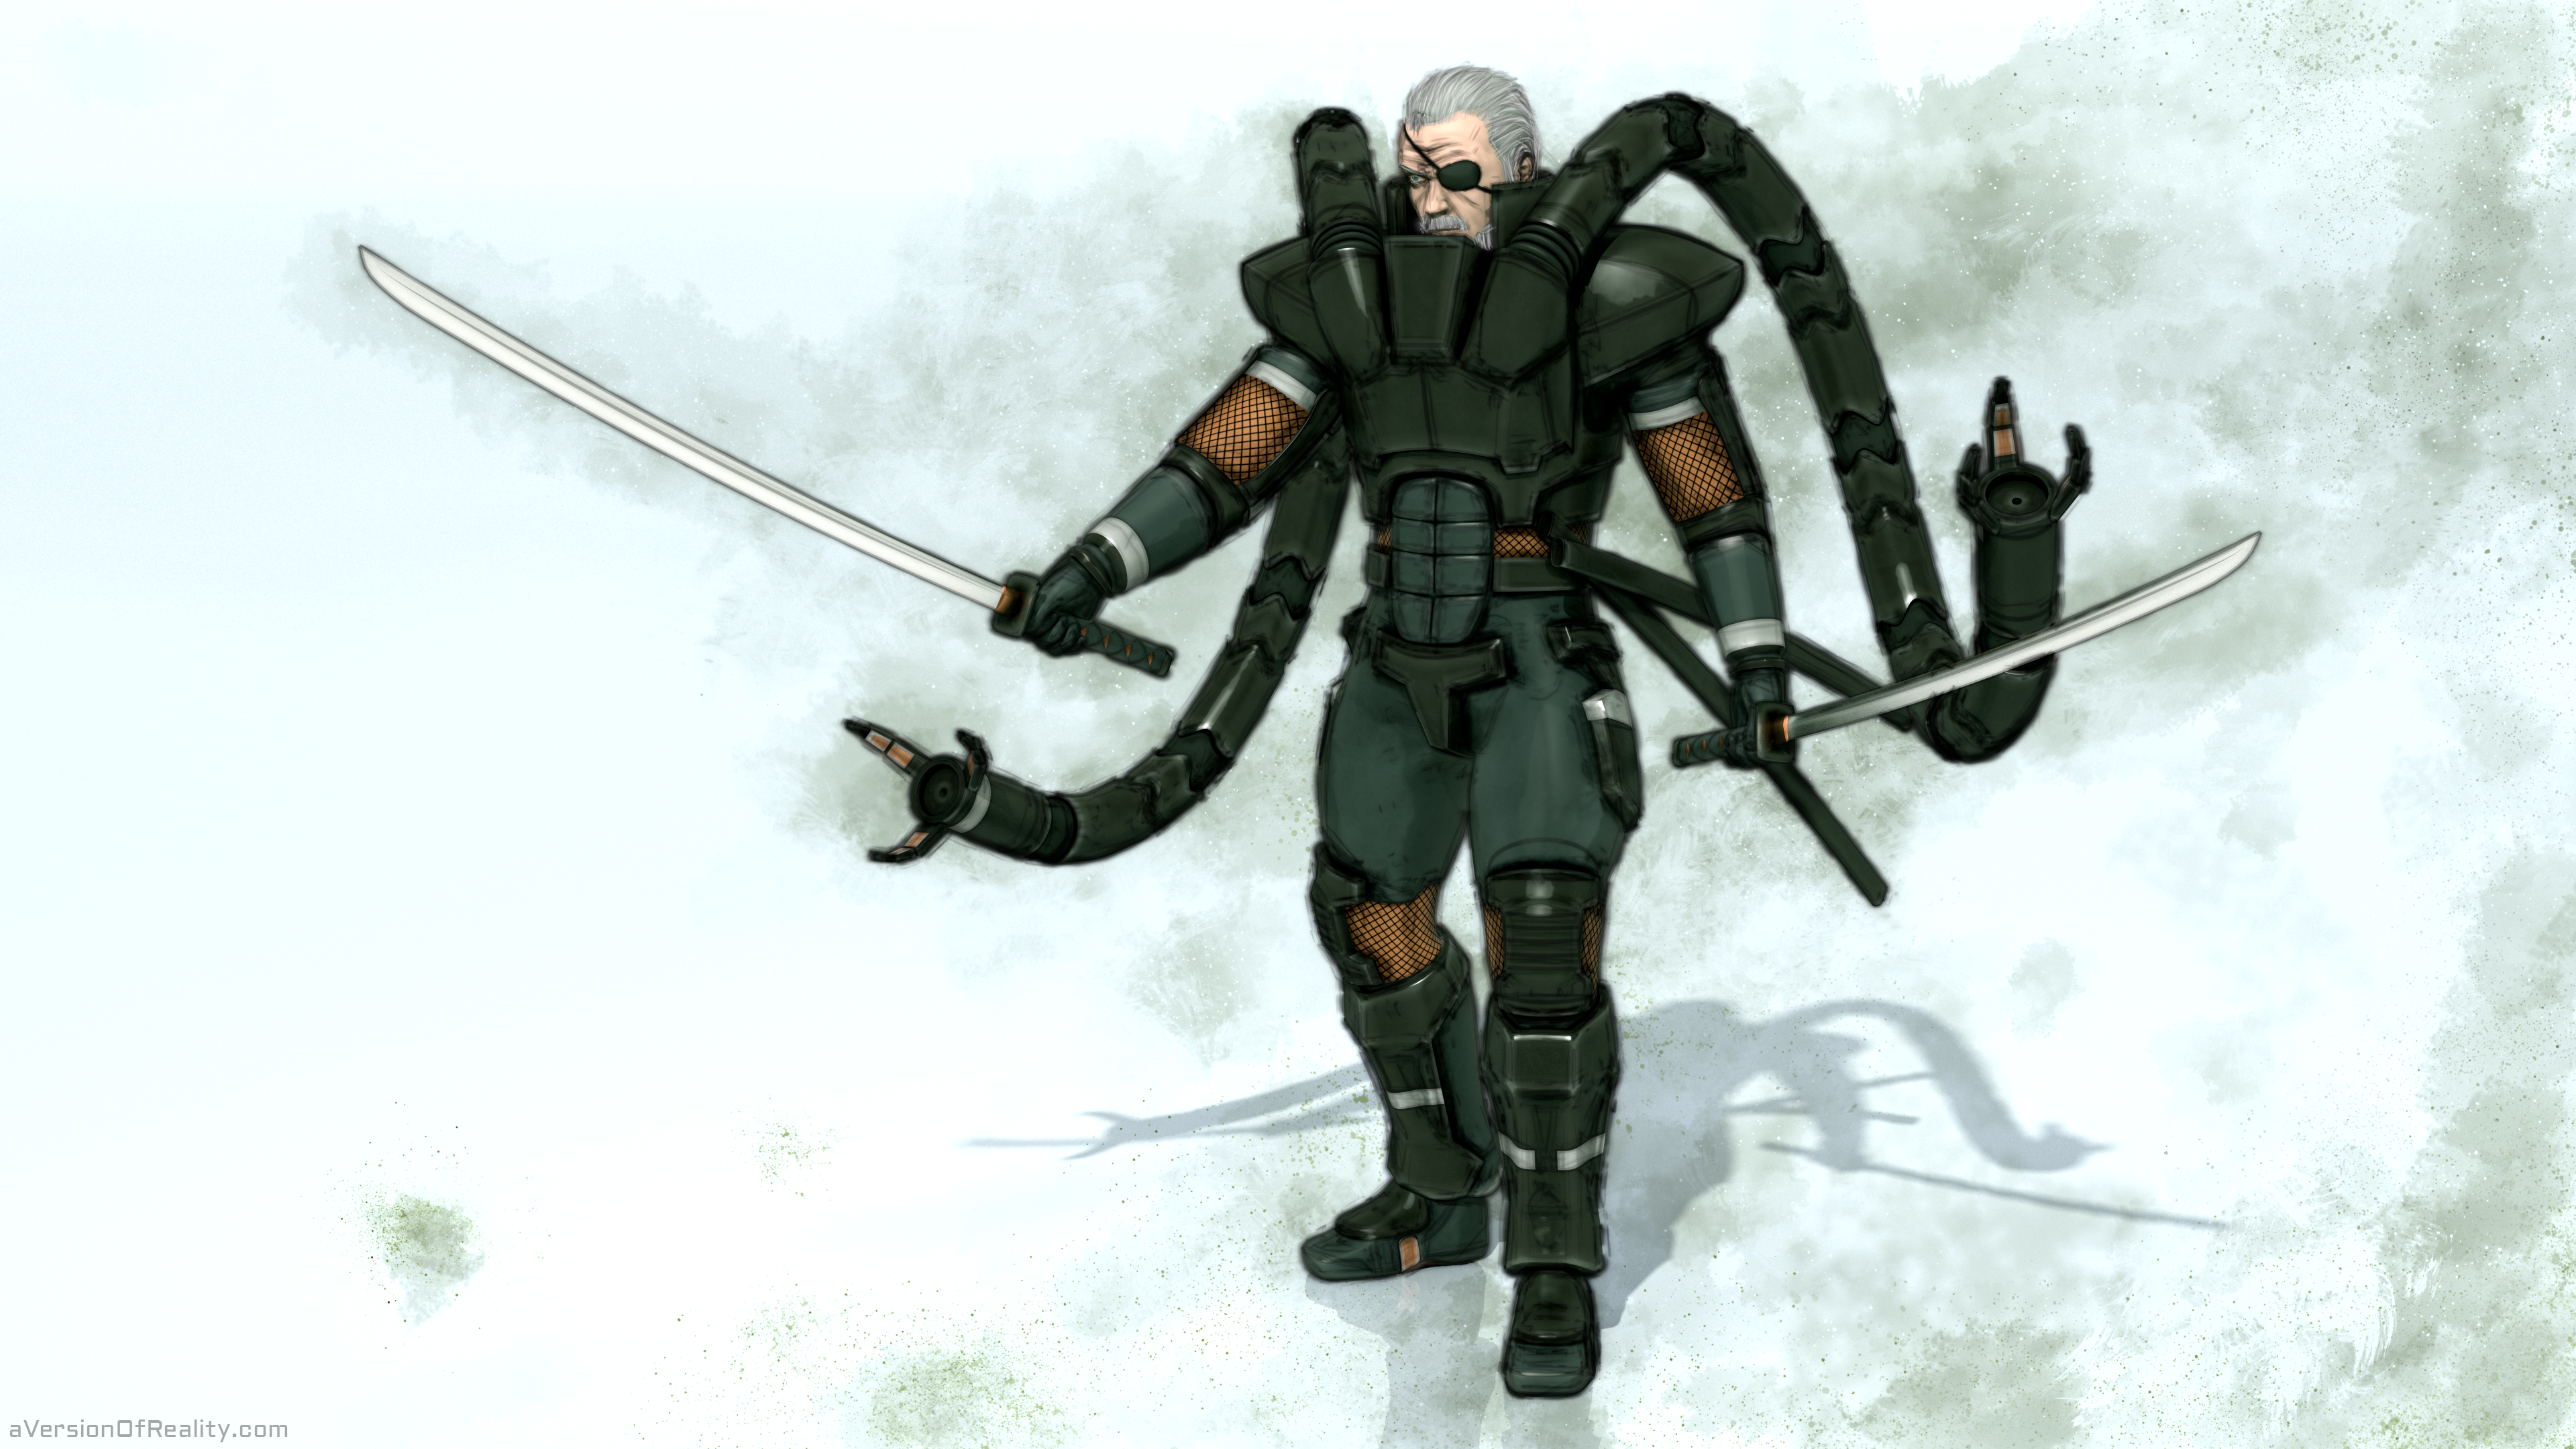
Click for full size. Also on DeviantArt and Pixiv.
For my latest foray into NPR rendering, I took on Metal Gear Solid 2's villain, former President of the United States George Sears aka Solidus Snake—the only Big Boss the world needs. I used Blender (Cycles, Freestyle), MakeHuman, and a bit of photoshop for the background. All post-processing was done in Blender's compositor.
Here's a summary of the techniques used to make this. I don't get into the specific settings here as they'll need their own articles or already have them.
References
Metal Gear Solid's concept and comic art is known for being dark and gritty, and uses a lot of ink, paint, and brush effects. I was not trying to duplicate any of these styles, but I wanted to capture a bit of the spirit of them. My main references for this project were Solidus Snake's in-game model, action figure, and the wonderfully sketchy art of Ashley Wood. (Unfortunately, it is very hard to find online versions of his Solidus art. I'm working out of an artbook. But please google him if you want to see his style.)
The Model

Wireframe without Subsurf. Click for full size
The goal was an effect stack that works well even on quick and dirty meshes. I wanted the minimum of modeling, UV unwrapping, texture painting, etc. The topology is kind of a mess in some places, but it doesn't matter because the problem areas get covered by Freestyle, or are in crevices that get darkened out. All of the textures are procedural except the eye, which is the default MakeHuman eye texture (procedural eyes are possible). The model didn't even need a UV unwrap except for the areas on the biceps and back of the knees. For everything else I used Object texture coordinates in Cycles.
The armor uses two levels of Subsurf and the Corrective Smooth modifier to help with deformations. The body is the MakeHuman 1.1 male muscle mesh with one level of multiresolution and some additional detail sculpting. The hair is several layers: a solid mesh cap, then two layers of mesh strips with a wave texture as alpha (similar to video game hair) and also edge marked for Freestyle. It has a sketchy black lines and sketchy white lines offset from each other, both with enough alpha to blend together.
The scene is a simple sun lamp as key light and small mesh square fill light. The character is standing at the flattened bottom of a large white sphere with half cut away to let the sun light in. The World light/color is black.
The Material
The shader stack builds on my past experiments, but adds some new effects. The base is the Hybrid Toon Shader with Size Noise in the toon shaders. New to the stack are effects using the Pointiness attribute from the Geometry input node.

Cycles render layer without Freestyle or compositor effects. Click for full size.
I used two separate RGB curves on Pointiness to isolate the crevices and peaks. I then used these to respectively darken and lighten my diffuse color. Darkening the crevices gives a similar effect to the Ambient Occlusion darkening often done in the compositor. But as it's in the material, it has better interaction with light and gives more control.
Next, I took an even more extreme curve of the peaks and added it to my Fresnel, causing edges to get boosted highlights. This gives an effect similar to beveling. I don't use bevel because it does not work well with Freestyle. Since Bevel rounds off edges, it destroys edge marks and messes up Crease. Using this technique allows me to fake a similar effect, but again I have more control since I can adjust the Pointiness curve and amount of addition to the Fresnel.
Note that Pointiness's results vary based on your geometry and loop density. It doesn't work very well on low poly models/areas.
A big part of balancing the effects and colors of the material is taking into account how it will look after all the Freestyle lines are alpha'd over it. The lines make everything a lot darker. To counteract this, and help with the overall toon/paint effect, I decided to make my edge effects quite extreme, especially the Fresnel boost.

Diffuse color with crevice darkening and peak lightening + Fresnel after adding peaks, with Subsurf.
Freestyle

Layer 1, 2, and 3 of Freestyle. Click for full size.
The Freestyle setup uses several line sets across four render layers. These are:
1) The primary layer containing most of the character's Line Sets with Face Smoothness enabled. Each object (body, armor, swords) has a clean Line Set. Armor then has a sketchy Line Set using every edge type, and the Polygonization, 2d Offset, Spatial Noise, and Backbone Stretcher modifiers. The hair is described above, and uses the same modifiers.
2) Contains duplicates of the Sketchy Armor lineset, and the Body lineset, but with Face Smoothness disabled. Face Smoothness is necessary for clean chaining, especially on Contour lines. However, it can smooth over creases, and cause Crease to not pick up much.
3) Is a set of fat, blurry lines with thickness and alpha noise, masked in with the Shadow pass.
4) Is another set of fat noisy lines that is used as a mask for a heavily blurred version of the character, and then placed behind it. This produces an edge bleed effect, disrupting the silhouette of the model.
Layers 1, 2 and 3 are combined in the compositor, but are further modified by changing the alpha based on 3 factors. The ID mask of the eye is set to fully transparent. The strength of the lines is reduced in area with extreme highlights by using a curve on the Glossy Direct pass to isolate them. The darkness of the lines is reduced in some areas of high mesh density (such as the abs) by using a vertex painted mask in black and white rendered out on a separate Cycles render layer (only needs a couple samples) and then blurred.
Compositing
The many layers are all combined with Alpha over nodes. There is also color correction applied before the Freestyle. The background image was painted in photoshop. The shadow is multiplied over it. But to make the shadow match the noisier style of the lines and background, I used several Displace nodes on it with the background texture as the Vector.
If you are interested in the details of any of these effects, feel free to ask. You can follow me on Facebook or Twitter for work in progress posts and future updates.